
Initial Configuration
After installing kumaneko, let's complete the initial settings!
At the time of installation, only one administrator account is registered, so enter "Administrator" in the account field and "kumaneko" in the password field to log in.
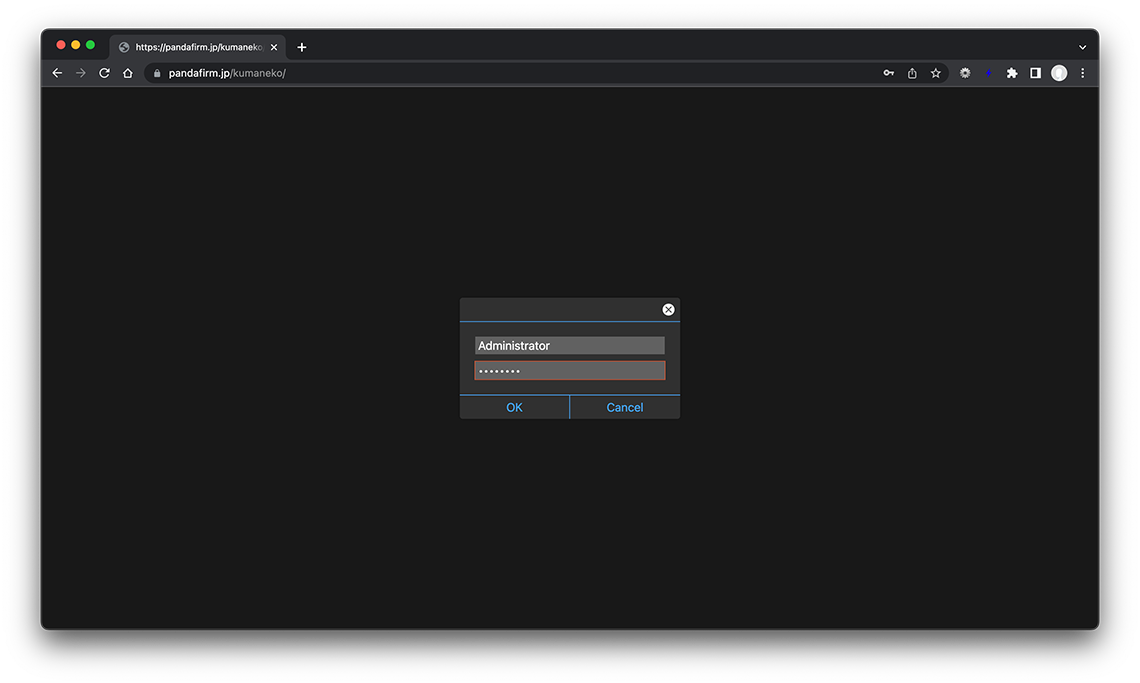
Be sure to change the account name and password of the administrator account.
- References:
- Adding Users
Allow notifications
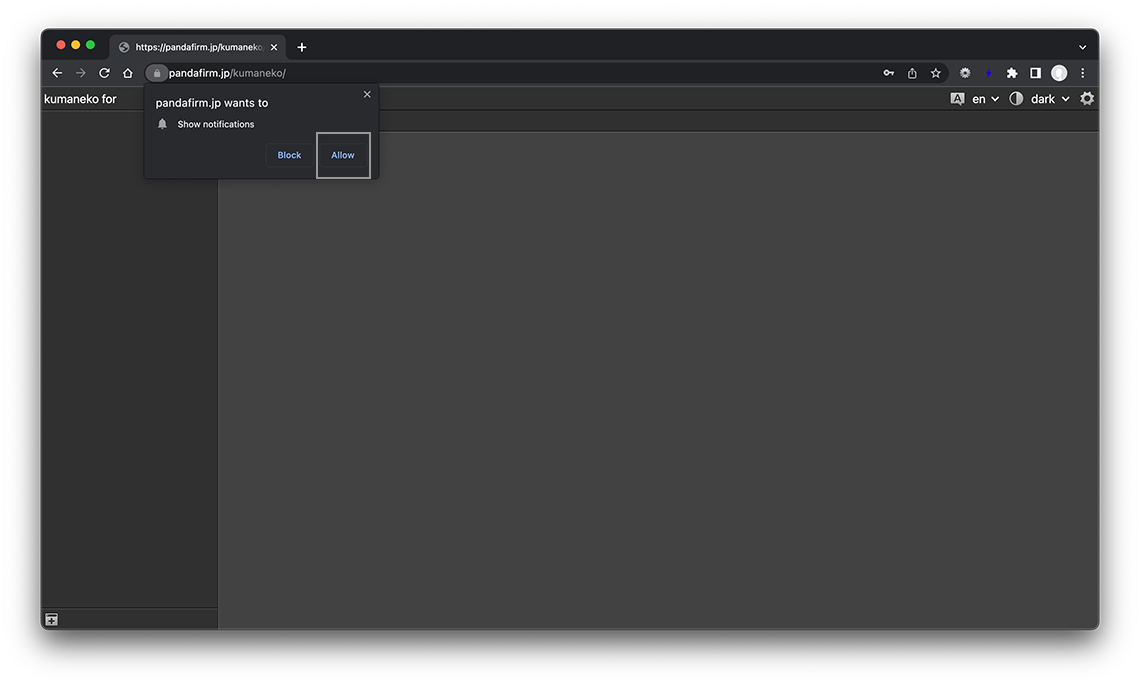
kumaneko sends and receives messages in the background to each other in order to immediately reflect the record registration or various setting changes made by other clients.
After logging in for the first time, you need to allow the notification, so be sure to click "Allow".
Language and Theme
Language and Theme can be switched from the upper right of the screen.
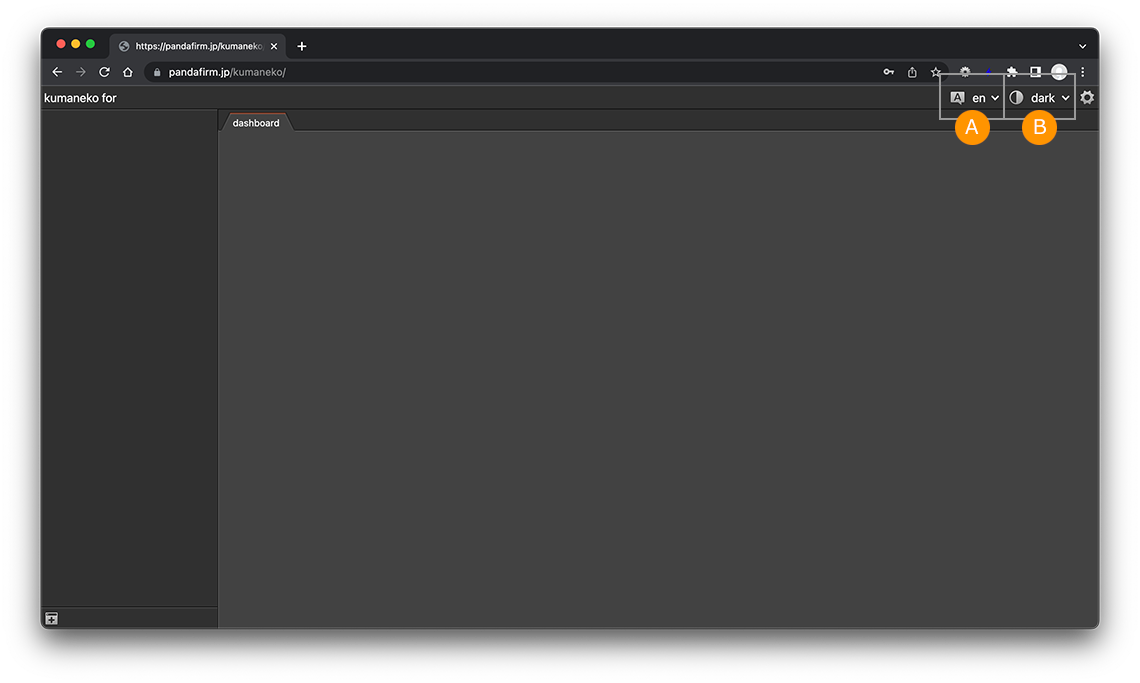
- A: Language
-
Select from English(en) / Japanese(ja).
- B: Theme
-
Select from dark / light.
Project
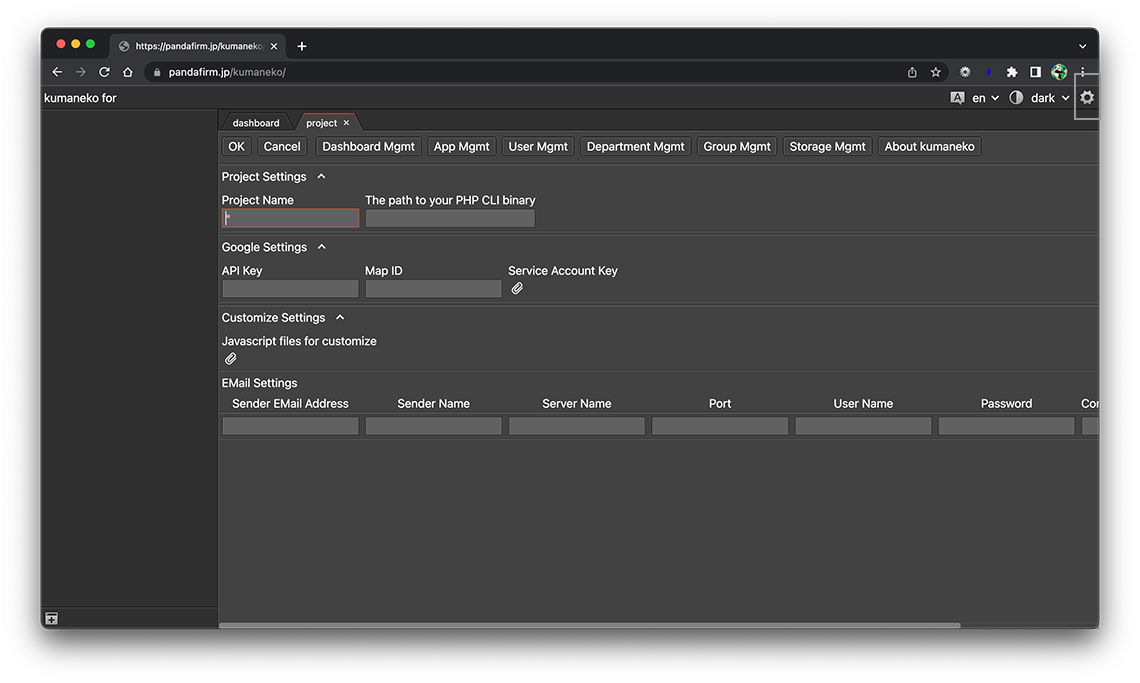
Click the gear button on the upper right of the screen to display the project setting screen.
Settings related to various Google key information required for geocoding / PDF creation, javascript file upload that customize the system-wide operation of kumaneko, and sending emails are made from this screen.
- Project Settings:
-
Enter the project name to be displayed in the title bar and the PHP CLI binary path if required.
- Google Settings:
-
If you want to get the latitude and longitude using "address" field or use the map view, enter the API key created in the GCP (Google Cloud Platform) console in "API Key".
If you want to output PDF using "Action", upload the service account key (JSON format) created / downloaded in the GCP (Google Cloud Platform) console to "Service Account Key".
If you want to change the style of the map when using the map view, enter the Map ID created in the GCP (Google Cloud Platform) console in "Map ID".
If there is no need to change the style of the map, it is not necessary to obtain a Map ID.
- Customize Settings:
-
If you have created a javascript file that customize the system-wide operation of kumaneko, upload it here.
- References:
- EMail Settings:
-
If you want to send an email using "Action", enter the information of the sender's mail server in each item.
- Sender EMail Address:
-
Enter the sender email address.
- Sender Name:
-
Enter the sender name that will be displayed in the email you sent.
- Server Name:
-
Enter the name of your mail server.
- Port:
-
Enter the mail server port number.
- User Name:
-
Enter the user name used by the mail server.
- Password:
-
Enter the password used by the mail server.
- Connection Security:
-
Select the email security protocols.
- References:
After inputting, click the "OK" button and proceed to "Adding Users and Departments and Groups"!