Use Calendar view
A calendar view displays the data in date cells. Creation is done from the "views" tab on the app settings screen.
If you would like to use a more advanced calendar, please refer to the following.
- References:
Configuring a View
-
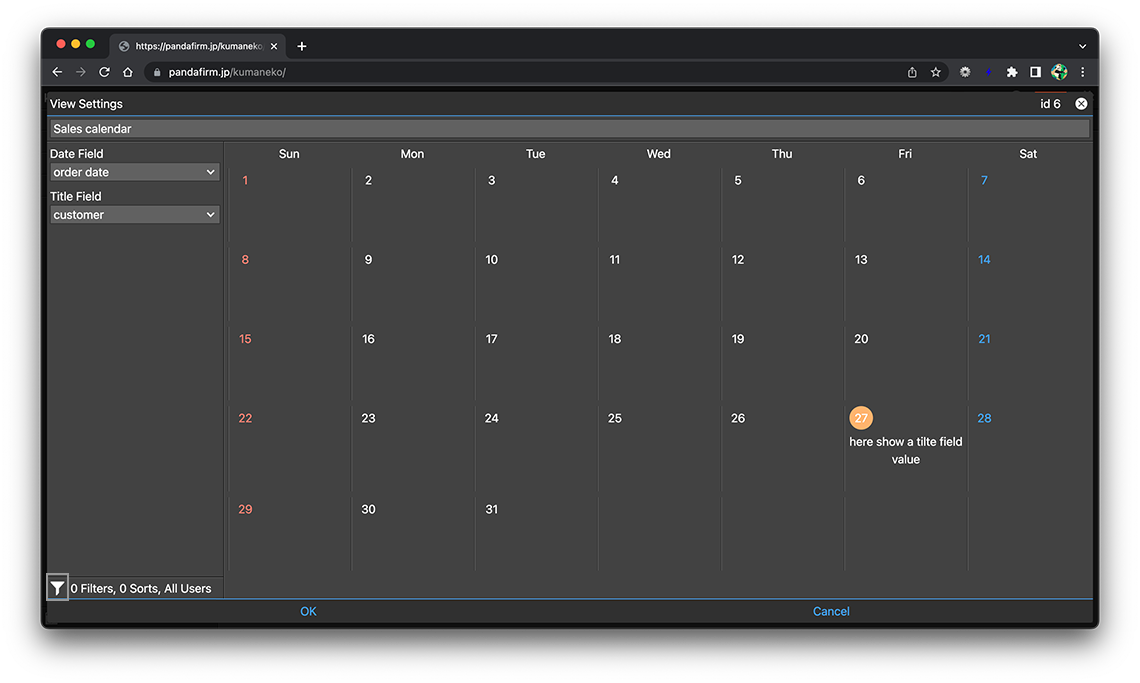
Check "Calendar view" from the view type and click the "Add new view" button.

-
Enter the name of the view and specify the setting items placed on the left side of the screen.

- Date Field:
-
Specify the date field used to display the record.
- Title Field:
-
Specify the field to be used to display a title on the calendar.
If you have an action that changes the field color of the title field, that color scheme is applied.
The following fields cannot be specified.
- box, spacer
If any field is designated as a field within a certain table, all other fields must also be within that same table.
-
After completing the settings, click the "OK" button at the bottom of the screen, and then click the "Update App" button on the app settings screen.

- References:
Configure Conditions for Records to Be Displayed in a View
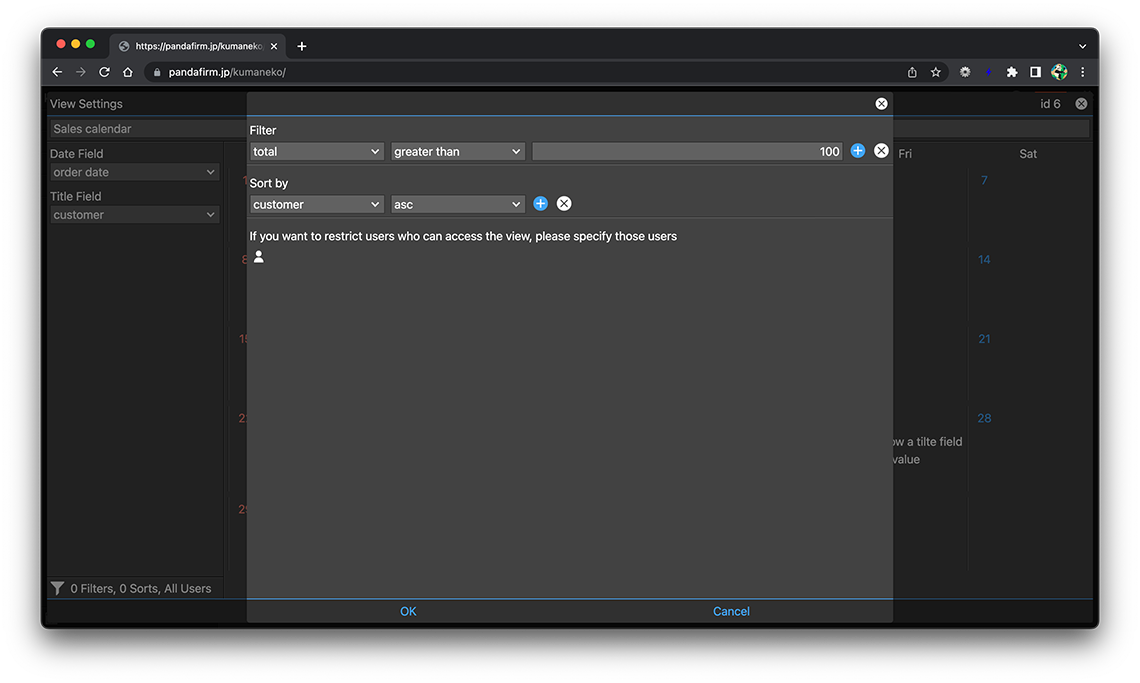
Click the filter button at the bottom left of the screen to set the conditions for the records to display.
- References:
-
Notes when specifying the date period in the record filtering condition
Notes when specifying the dropdown field in the record filtering condition
Notes when specifying the lookup field in the record filtering condition
Notes when entering double quotation in the record filtering condition
The following fields cannot be specified in sort order.
- in-table field
- spacer
You can also change the conditions and order of the records to be displayed from the view screen.
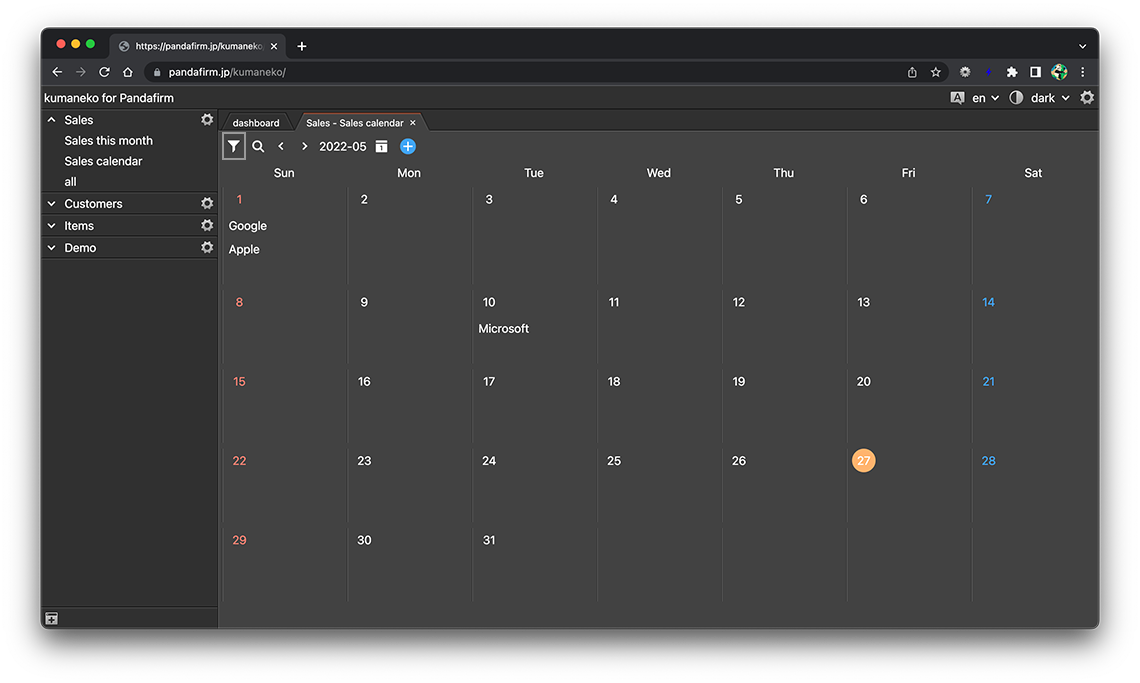
On the view screen, you can use the search box to further refine your search.
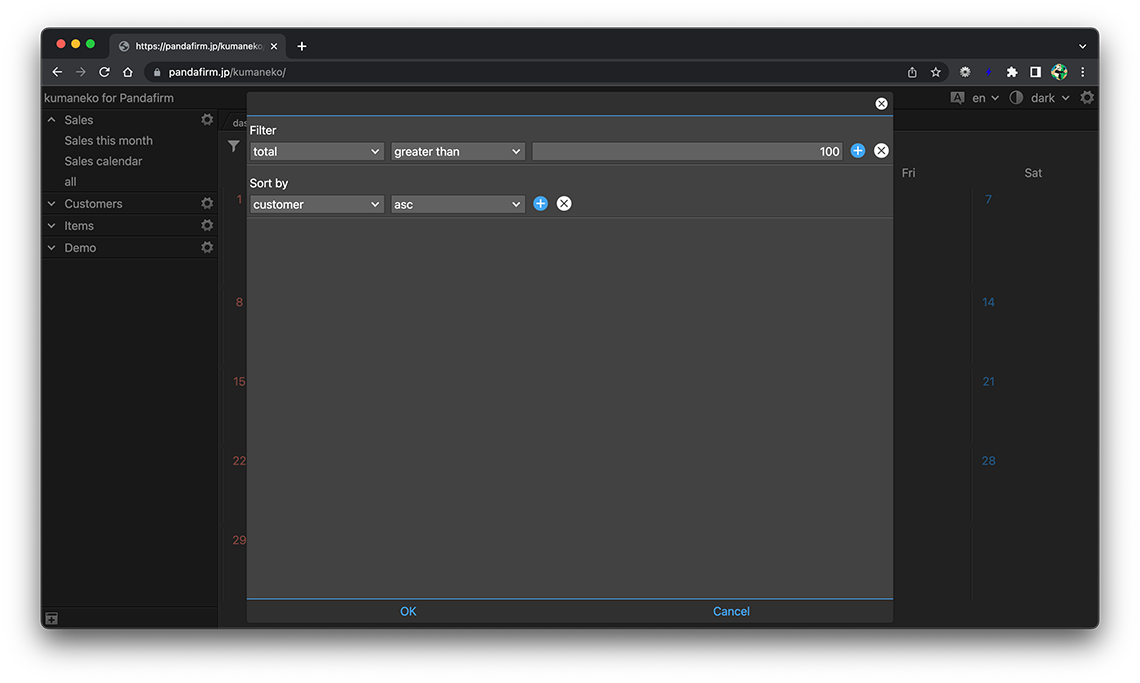
To the right of the filter button, there are buttons for switching the displayed month.
Use a View
Select "App Name"> "View Name" from the list of apps on the left side of the screen to display the created view in the work area.
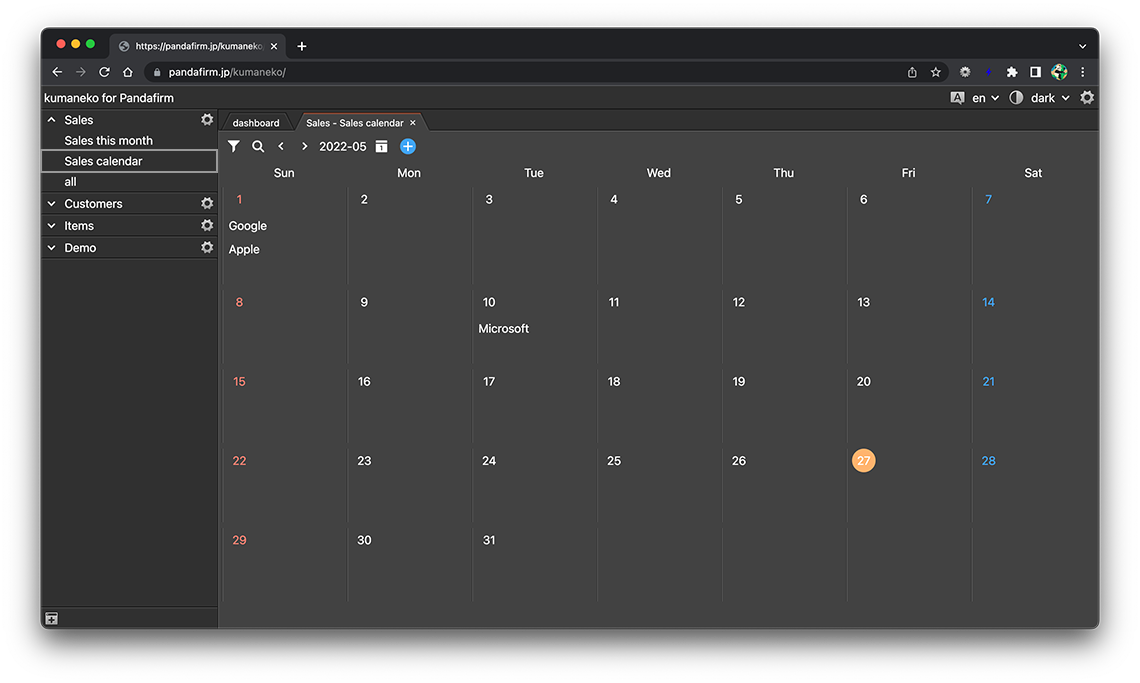
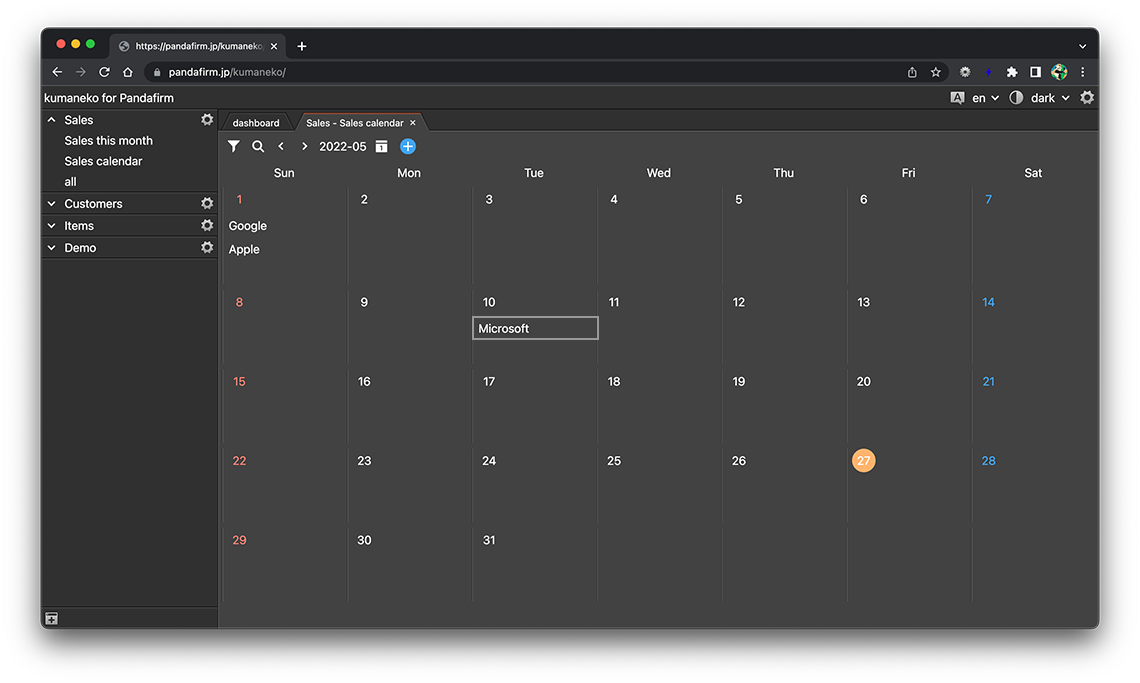
Click the title to switch to the record edit screen.
- References:
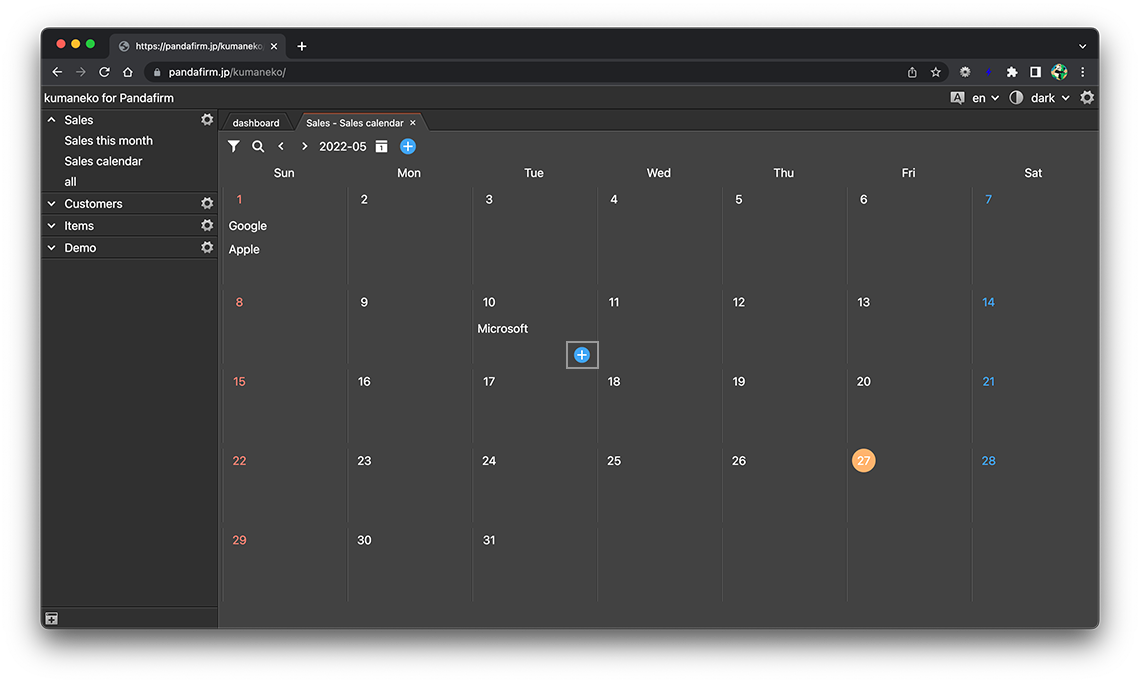
Click the "+" button that appears when you hover the cursor on a cell to switch to the record add screen.
- References:
If you specify a field in the table, you cannot add records from this button.
