Use List view
A list view displays data in rows and columns, much like a spreadsheet. Each row shows a record and each column shows a field. Creation is done from the "views" tab on the app settings screen.
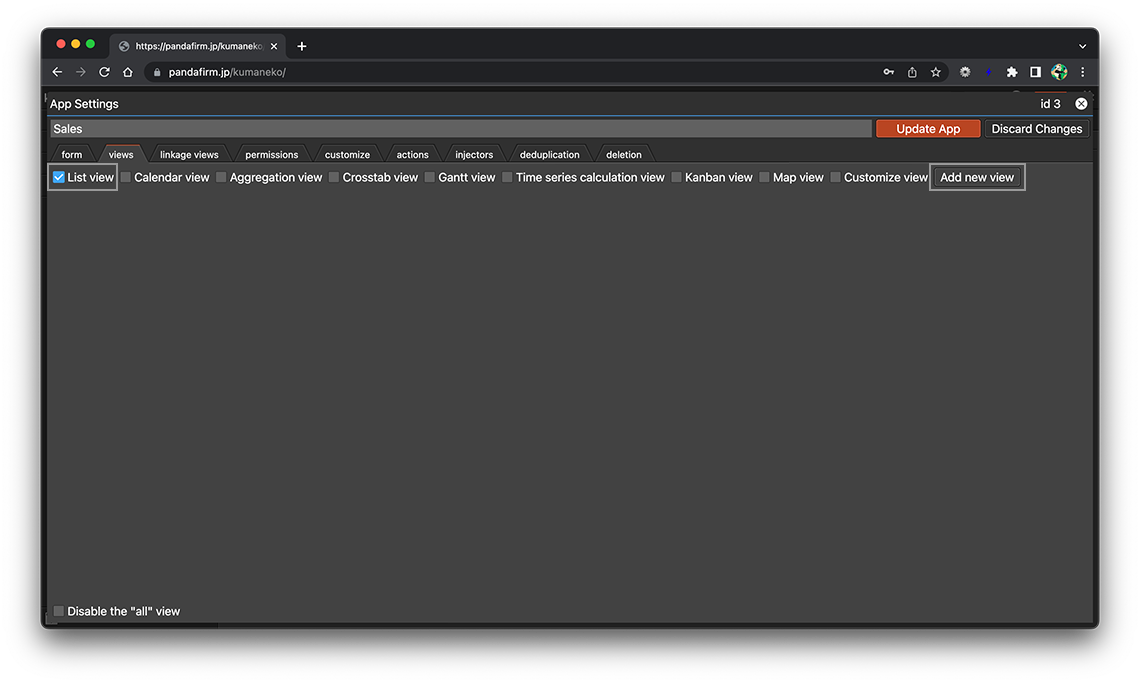
Configuring a View
-
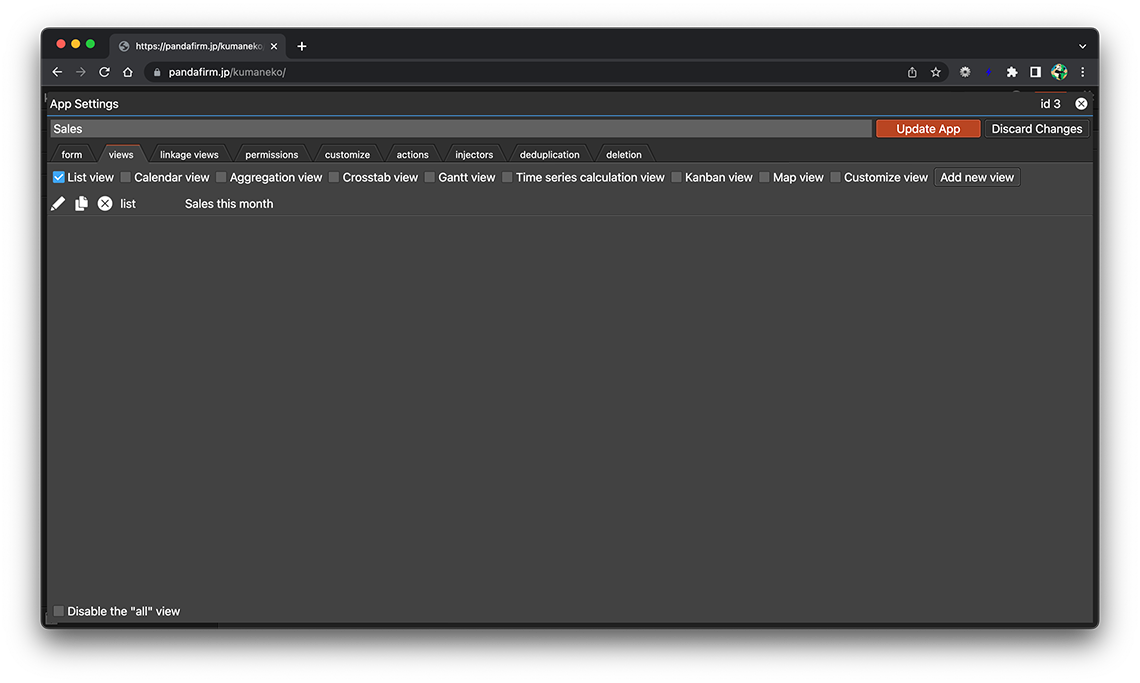
Check "List view" from the view type and click the "Add new view" button.
-
Enter the name of the view, select the fields you want to display from the field list on the left side of the screen, and drag and drop them into the area on the right side.
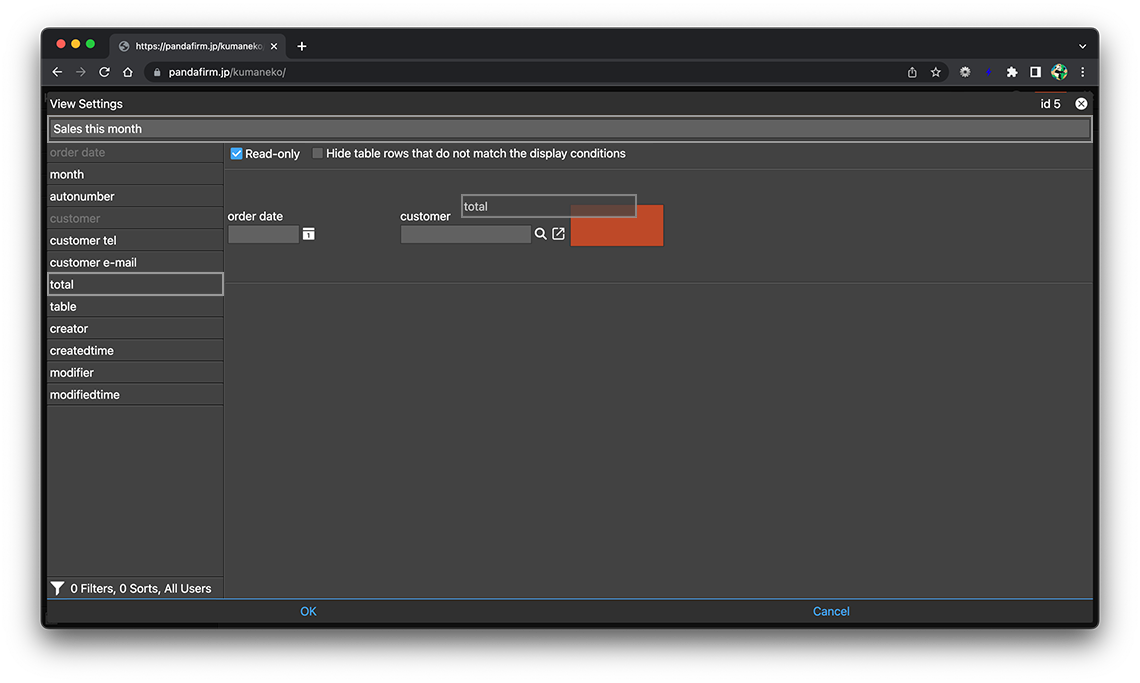
You can change the order of the already placed fields by dragging and dropping.
-
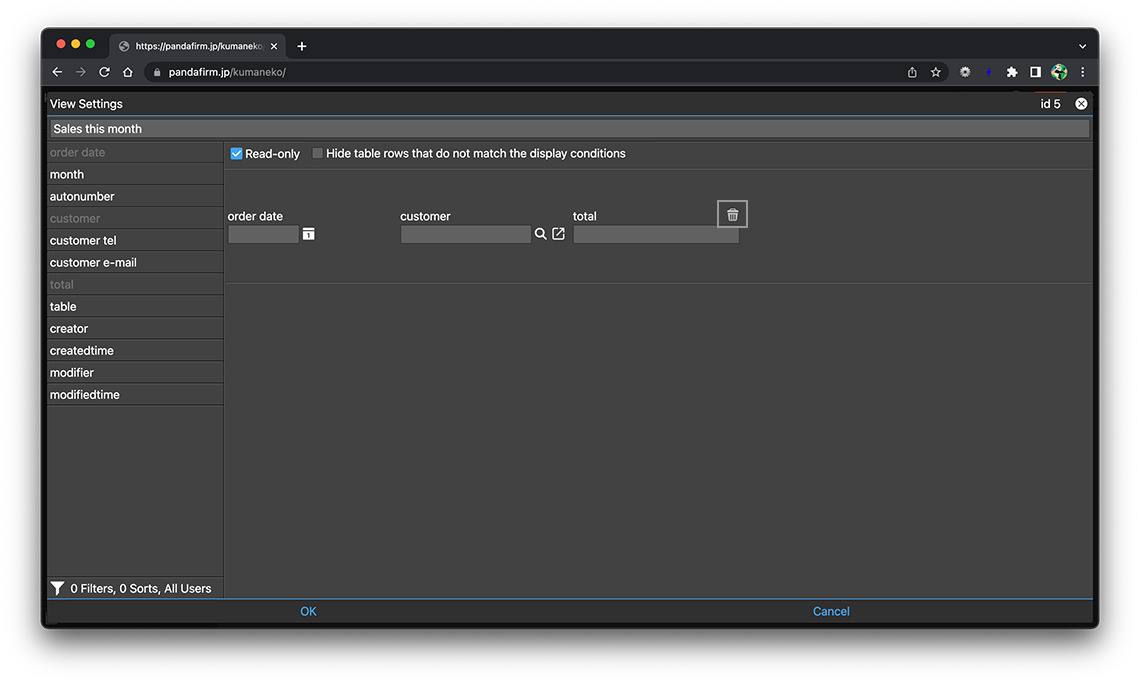
Fields can be deleted from the trash button that appears when you hover over them.
-
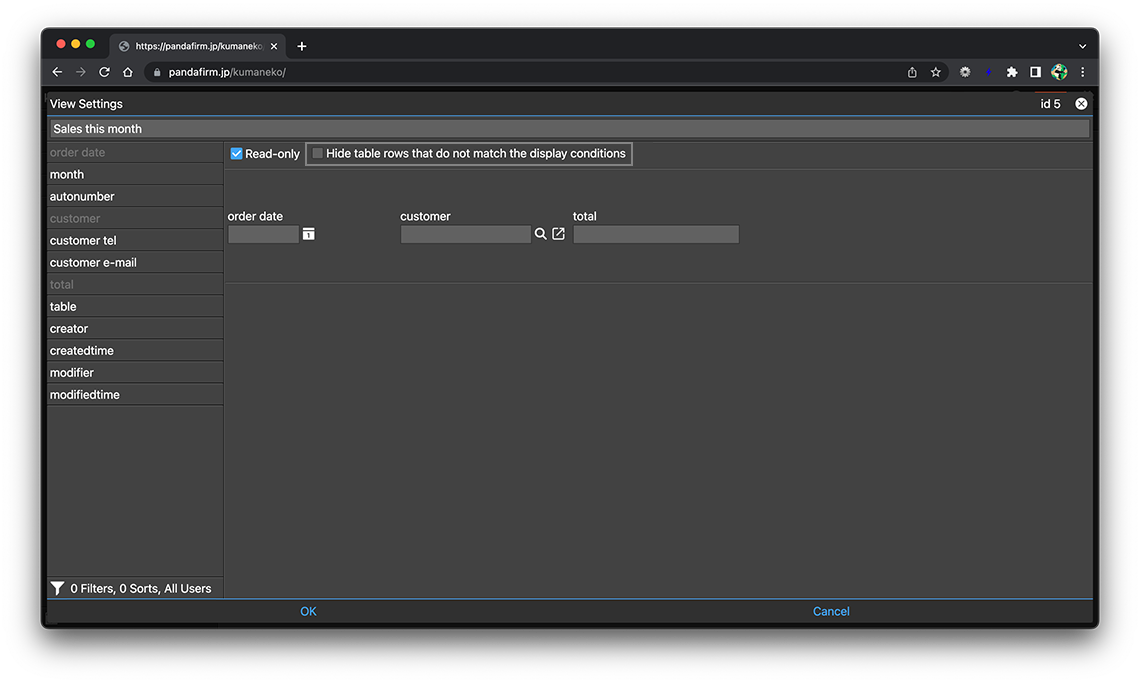
If you want to make the records displayed on the view editable, uncheck "Read-only".

-
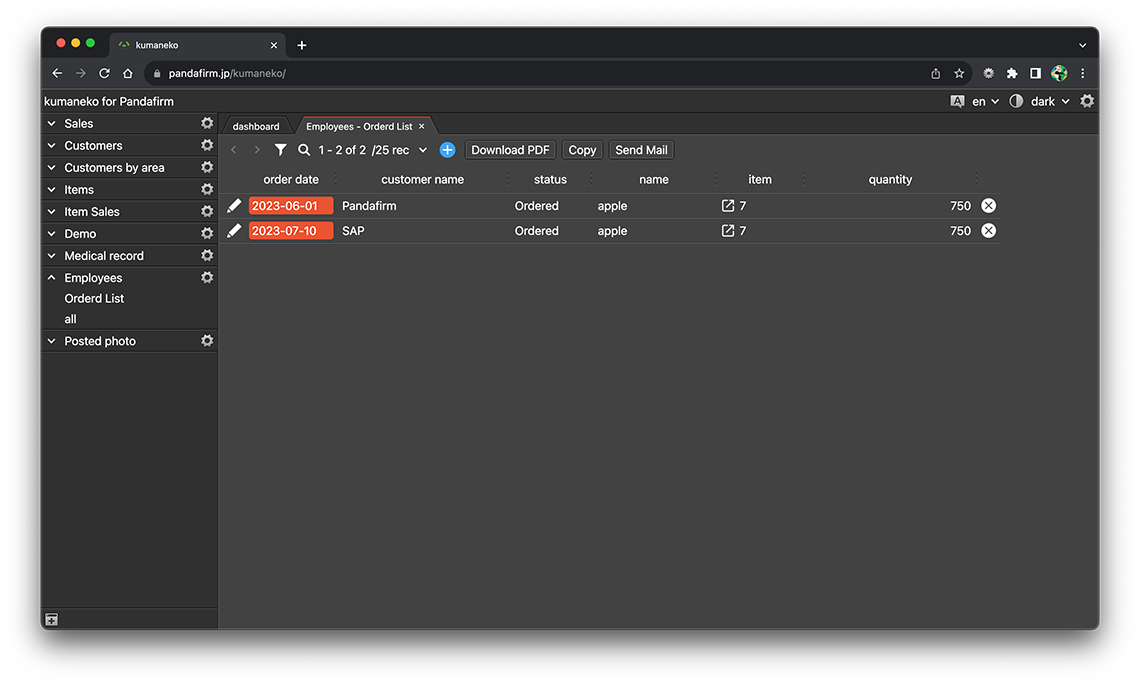
When specifying the conditions for the records to be displayed, check "Hide table rows that do not match the display conditions" to make rows that do not meet the conditions invisible.
-
After completing the settings, click the "OK" button at the bottom of the screen, and then click the "Update App" button on the app settings screen.
- References:
Configure Conditions for Records to Be Displayed in a View
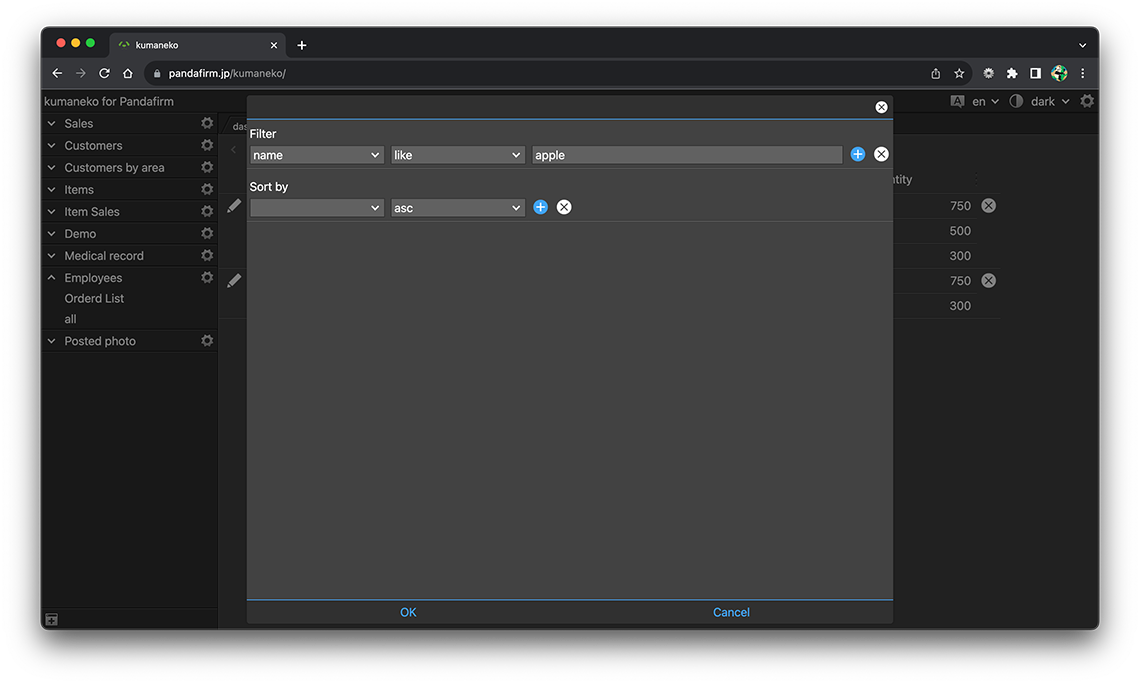
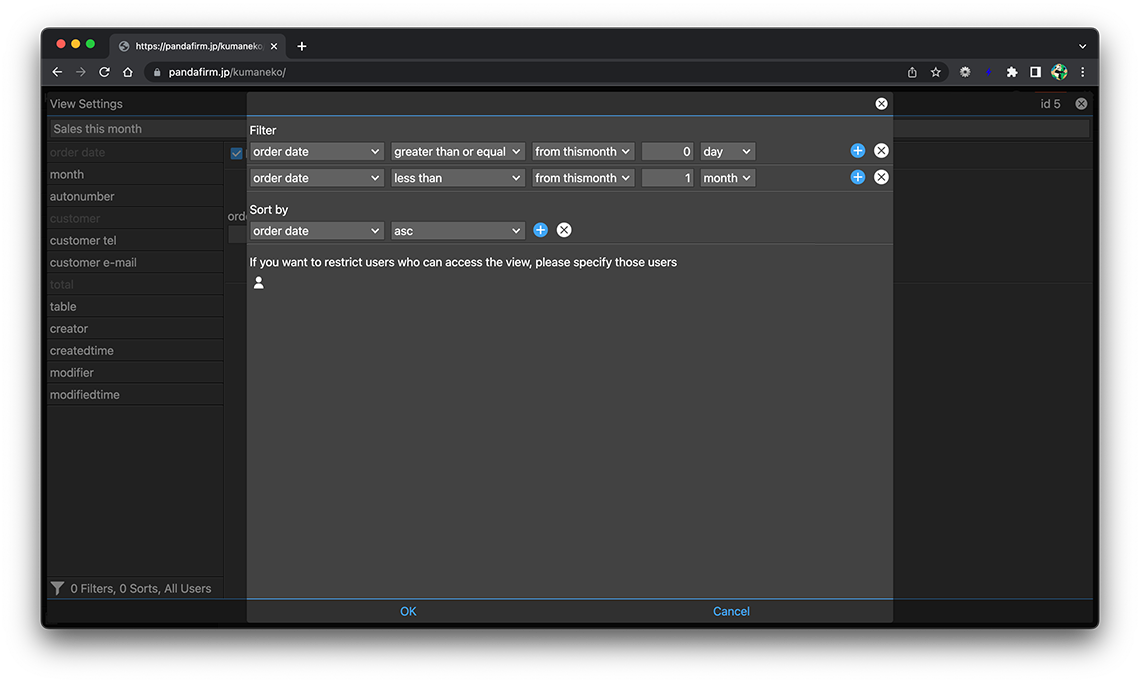
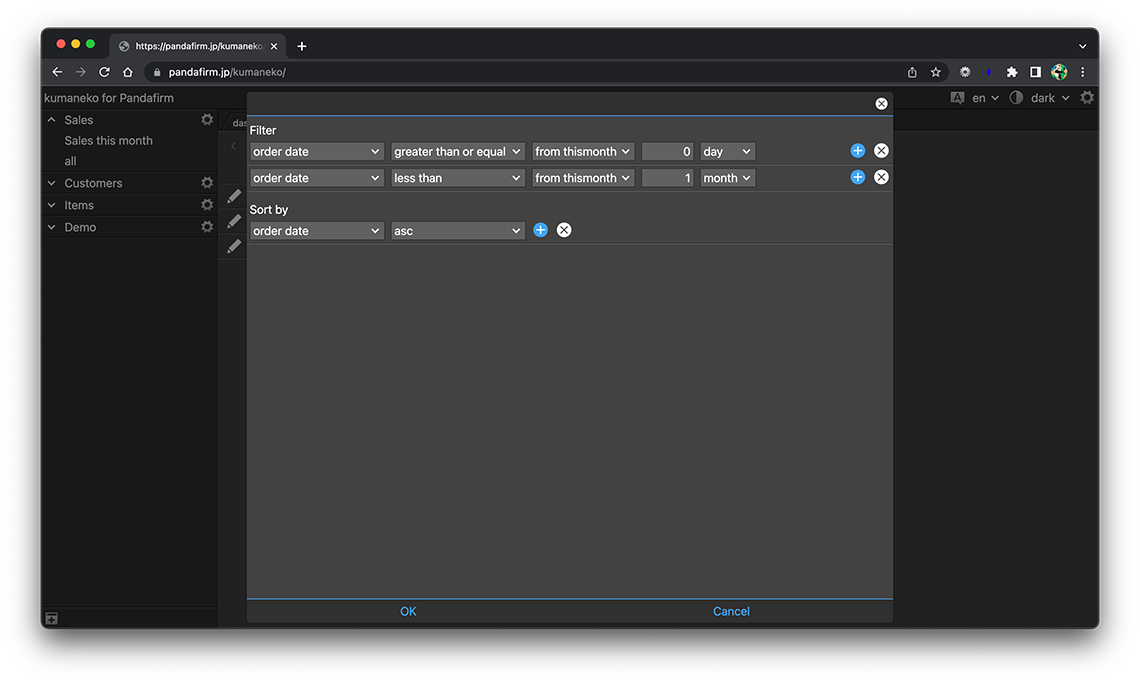
Click the filter button at the bottom left of the screen to set the conditions for the records to display.

- References:
-
Notes when specifying the date period in the record filtering condition
Notes when specifying the dropdown field in the record filtering condition
Notes when specifying the lookup field in the record filtering condition
Notes when entering double quotation in the record filtering condition
The following fields cannot be specified in sort order.
- in-table field
- spacer
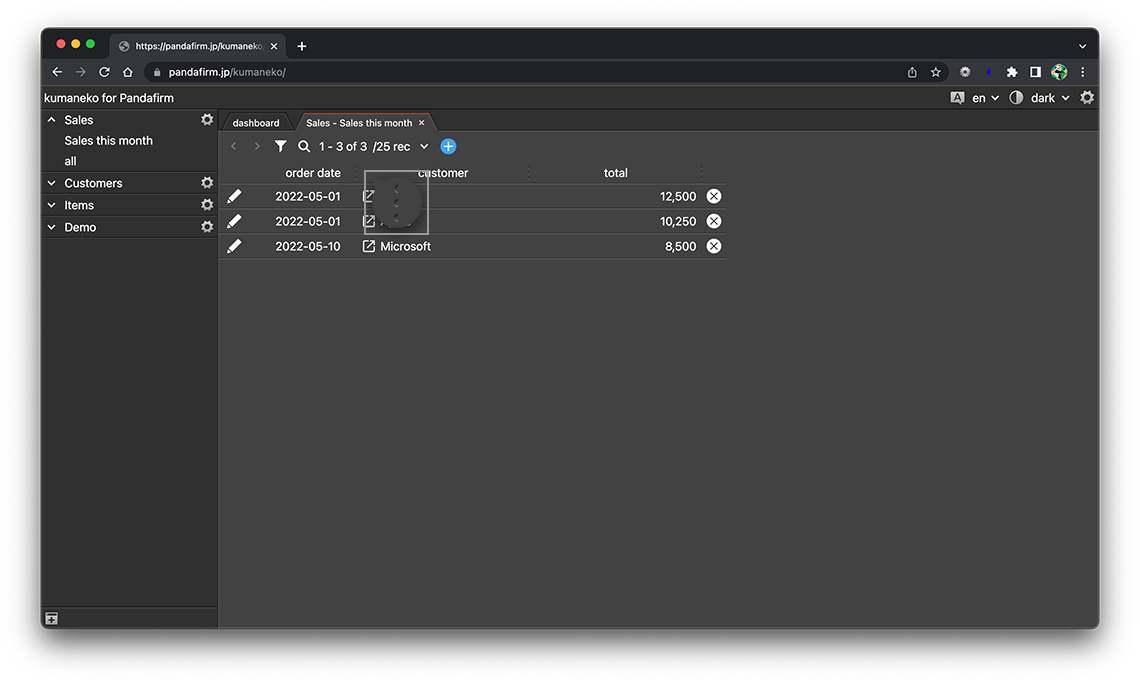
You can also change the conditions and order of the records to be displayed from the view screen.

On the view screen, you can use the search box to further refine your search.
To the right of the filter button is a label that shows the number of records currently displayed, and to the right of that label is a dropdown that changes the maximum number of records that can be displayed.
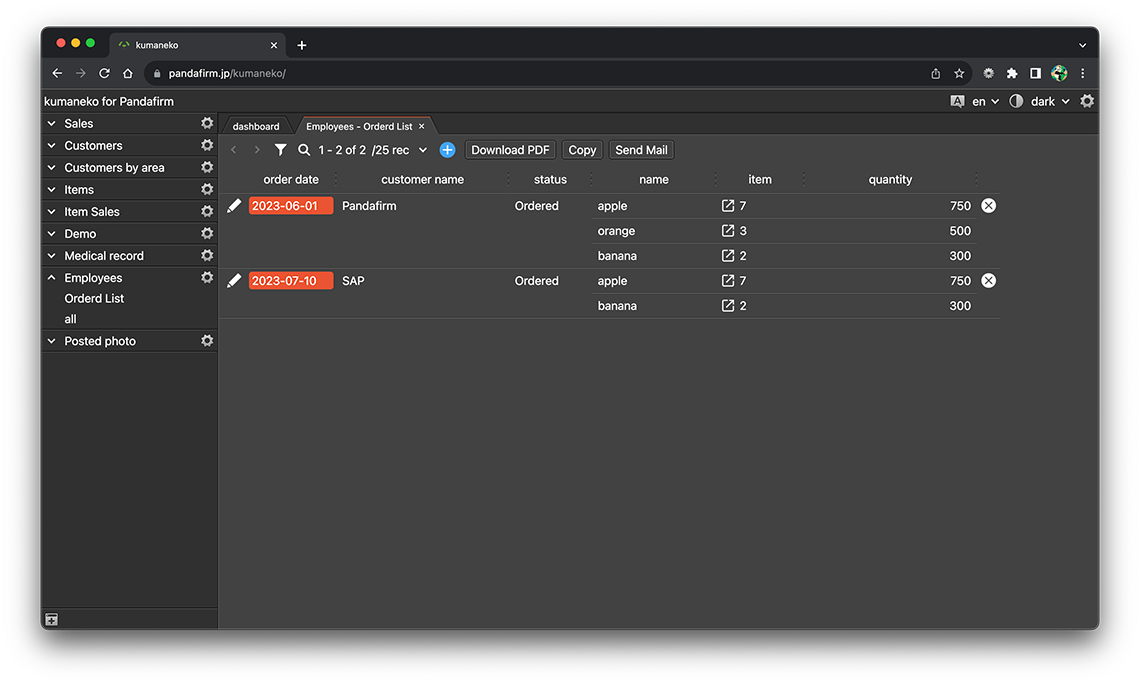
Use a View
Select "App Name"> "View Name" from the list of apps on the left side of the screen to display the created view in the work area.
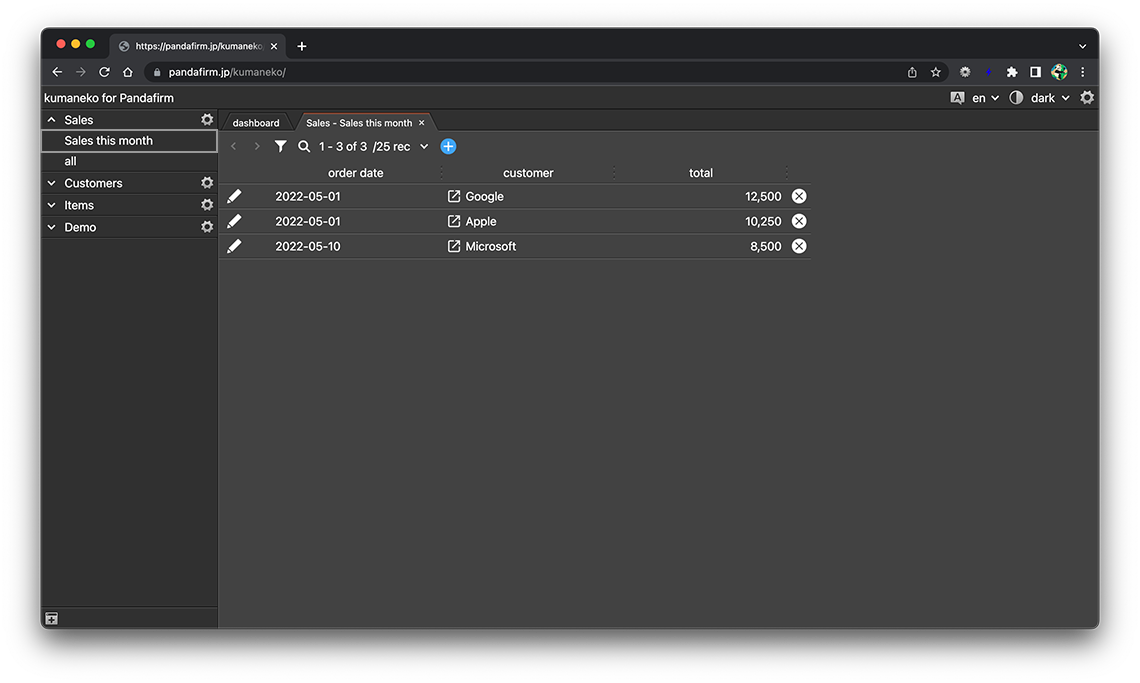
The read-only list view has edit and delete buttons at the front and back.

- References:
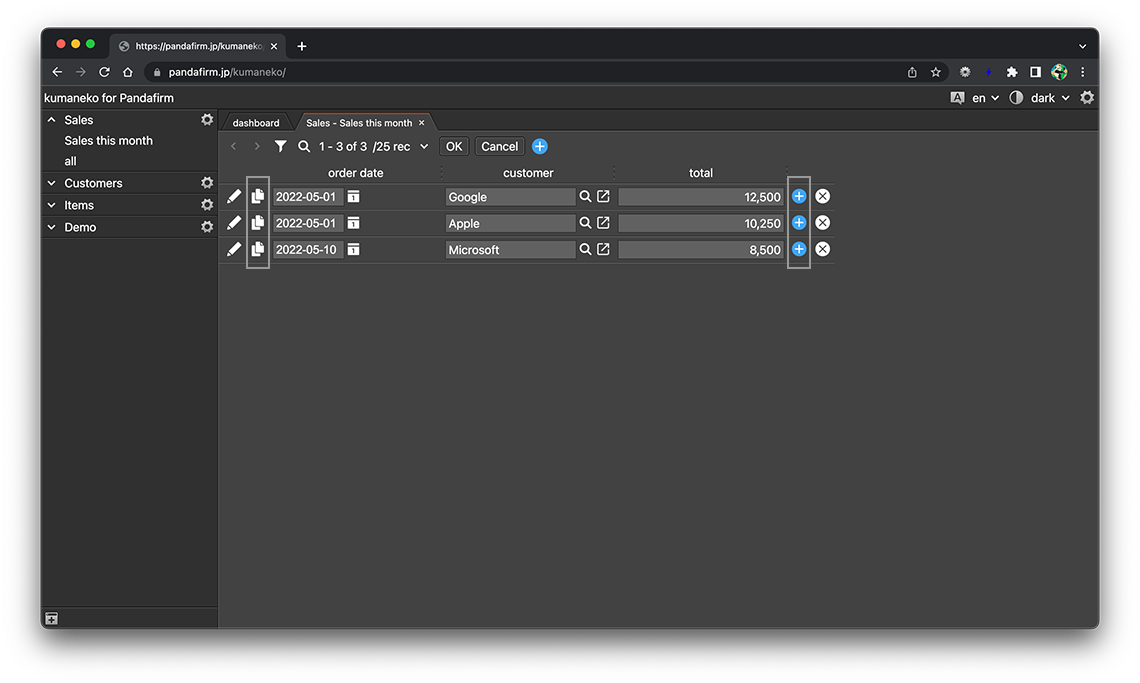
In addition, the editable list view has duplicate and add buttons at the front and back.
- References:
The width of the field can be changed by dragging the border on the right side of the column header of each field column.
When 'Hide table rows that do not match the display conditions' is checked, table rows that do not meet the conditions will be hidden.