
Adding Departments
A department is a collection that gives users common attributes. Feel free to add it by following the steps below.
-
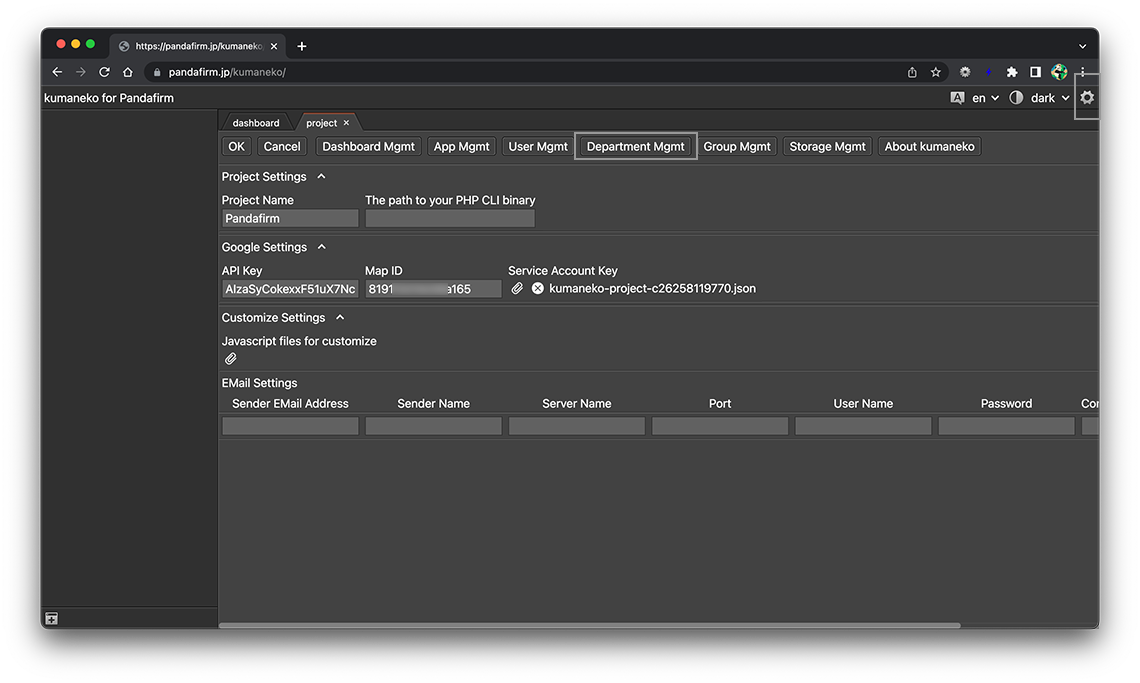
Click the gear button on the upper right of the screen to display the project setting screen, and click the "Department Mgmt" button in the header area.
-
The department list will be displayed in the work area, so click the "+" button.
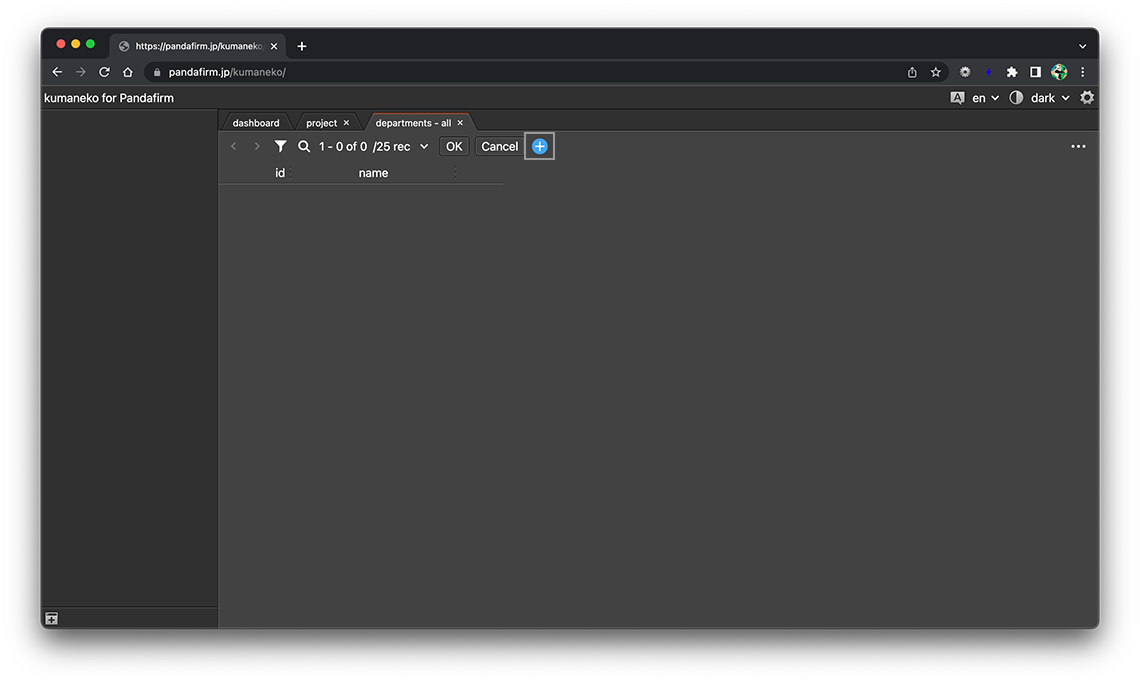
You can switch the content by clicking the tab at the top of the work area.
-
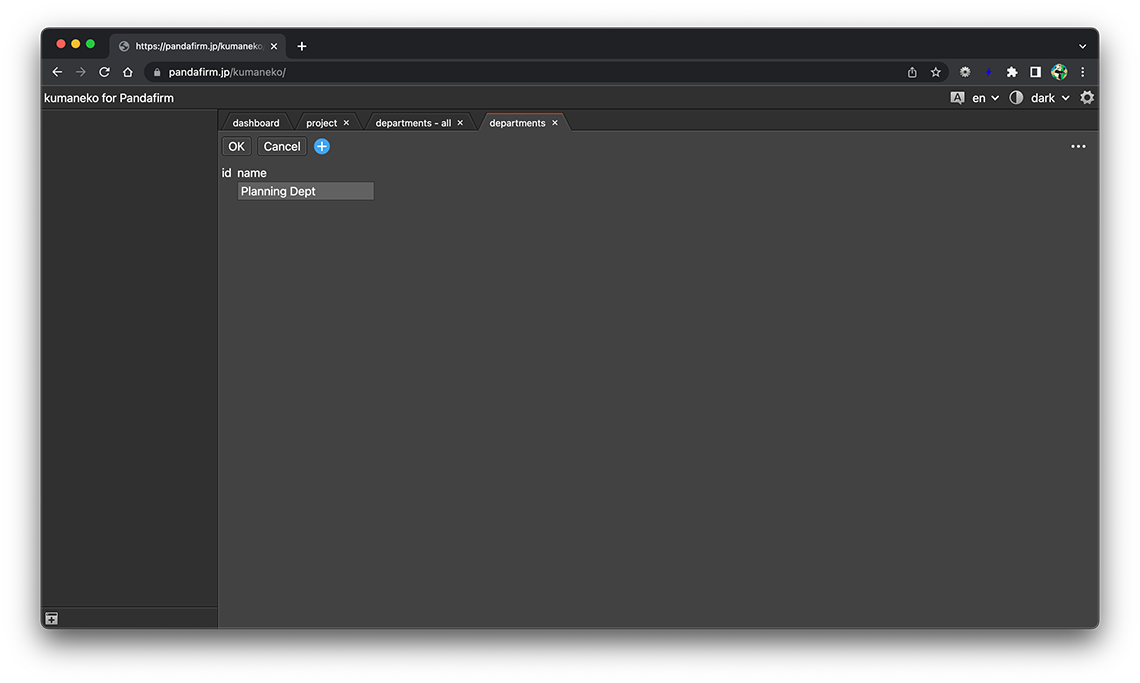
Enter the department name and click the "OK" button.
-
If you switch the content to the department list, you can confirm that the department has been added.

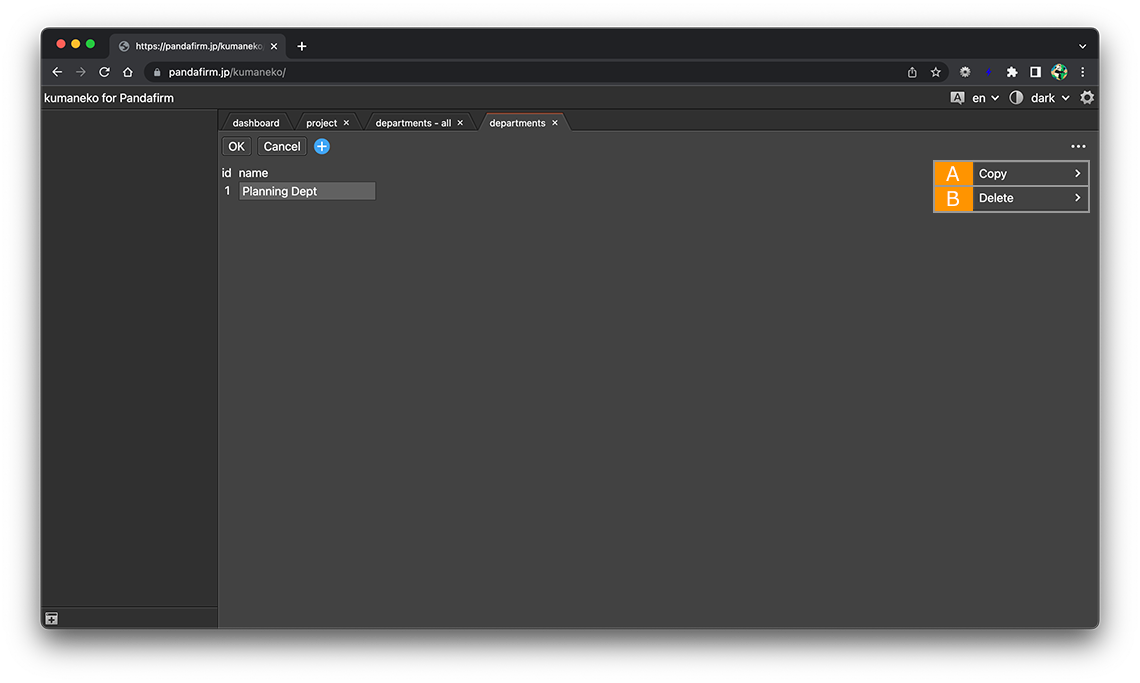
About buttons
- A:
-
Switches to the department edit screen.
- B:
-
Copy the row.
- C:
-
Add a new row at the bottom.
- D:
-
Delete the department.
Registered departments can also edit on the list screen.
After editing, click the "OK" button.
- References:
-
Registered departments can also be deleted on the edit screen.
About buttons
- A:
-
The screen switches to the add screen while leaving the copy source data.
- B:
-
Delete the department.
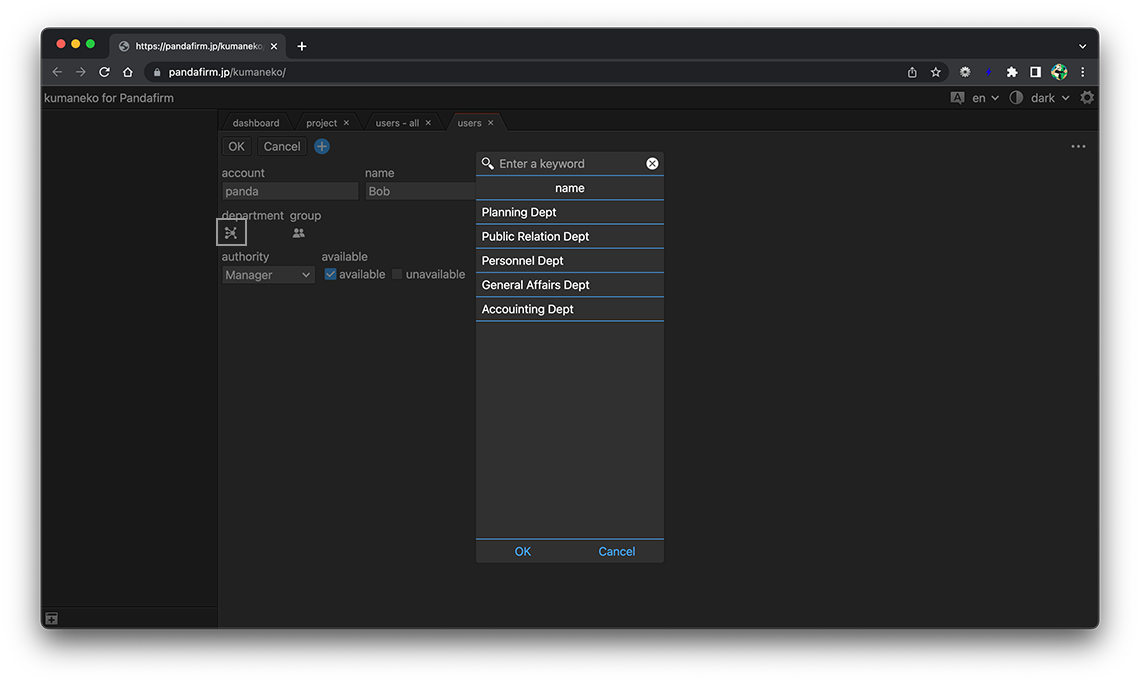
Make users members of the department
If you want to add a user to a member of a department, add that department to the user's "department" field.
- References:
- Adding Users