Transfer records
In addition to copying and updating records between apps, you can also decompose table rows and copy or update to other apps, or combine records from other apps into one table. Creation is done from the "actions" tab of the app settings screen.
Configuring an Action
-
Select "Action by Button click" from the action trigger and click the "Add new action" button.

-
Enter the Action name and the Button Text and the Confirm Message, and in the "Transfer to another app" section, make the settings that suit your purpose.


- Target App:
-
Specify the app to be the transfer destination.
- Insert only:
-
Check this if you want to copy only.
- Update only:
-
Check this if you want to update only.
- Upsert:
-
Check this if you want to copy when the record to be updated does not exist.
- Fetch Criteria:
-
Specify the record association when transferring.
If "Upsert" is checked and you want to copy instead of update, the field specified in "Fetch Criteria" will be automatically inserted. However, the following fields are not inserted because they are automatically handled.*
- id, autonumber, creator, createdtime, modifier, modifiedtime
*: Automatic insertion only applies under the following conditions:
- Fields (checkbox, department, dropdown, group, radio, user)
-
The field comparison condition is set to "any of"
- Other fields
-
The field comparison condition is set to "equal"
If you want to copy or update each table row as one record to another app, you need to add a condition to the "Source" dropdown to identify the table row so that each row in the source table is unique.
If you want to combine multiple records into one table in another app, you need to add a condition to the "Destination" dropdown to identify the table row so that each row in the destination table is unique.
The following fields cannot be specified.
- file, canvas, spacer
If you check "Insert only", it is not necessary.
- Field Mappings:
-
Specify the fields you want to transfer.
When transferring a lookup field, the transferring target is the record ID, not the value of the field specified in the Key Field of the lookup field.
The following fields cannot be specified to both the transfer source and transfer destination.
- spacer
The following fields cannot be specified as the transfer destination.
- id, autonumber, creator, createdtime, modifier, modifiedtime
- Formula:
-
When modifying the value of a field using functions or operators based on a record prepared for transfer, enter the value to be assigned (fixed value, function, calculation formula).
When setting the result obtained by adding one month to the value of the date field for the purpose of initialization, among other similar cases, it is necessary to specify the field ID of the destination app rather than the field ID of the source app.
In the case of the settings depicted in the image below, specify the field ID of the destination field "A" as the first argument of the FORMAT function, not the field "B" from the source.

When a value change trigger action is set for the transfer destination, it will be executed as a subsequent process.
If you specify an in-table field in the condition of the record in which the action is executed and the in-table field is the copy / update source, the range is limited to the table row that meets the condition.
-
After completing the settings, click the "OK" button at the bottom of the screen, and then click the "Update App" button on the app settings screen.

- References:
Configure conditions for records that perform actions
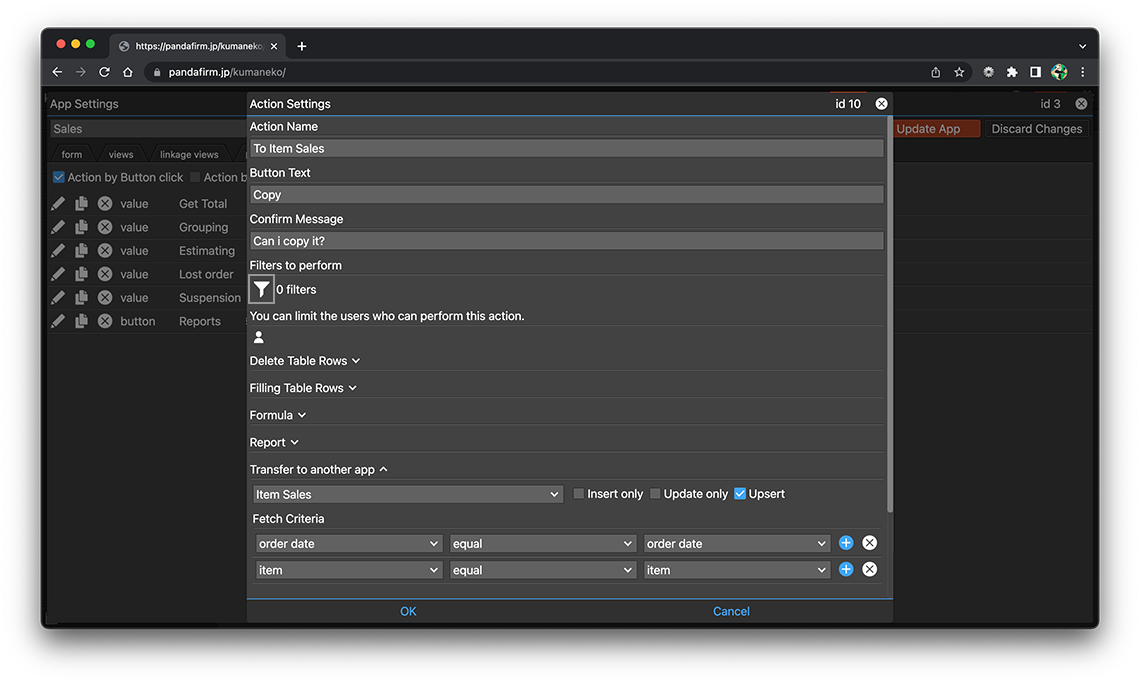
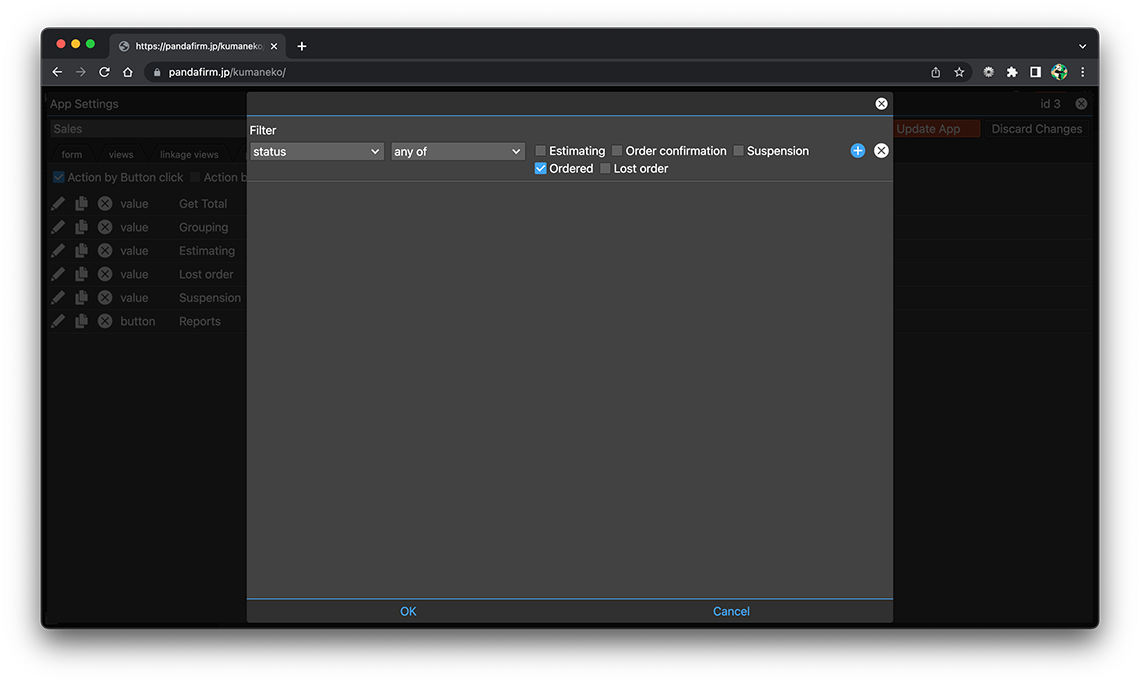
If you configure a condition, you can execute the action only when the record meets the set condition. Click the filter button to set the conditions for the record for which you want to perform the action.
- References:
-
Notes when specifying the date period in the record filtering condition
Notes when specifying the dropdown field in the record filtering condition
Notes when specifying the lookup field in the record filtering condition
Notes when entering double quotation in the record filtering condition
Configure users who can perform actions
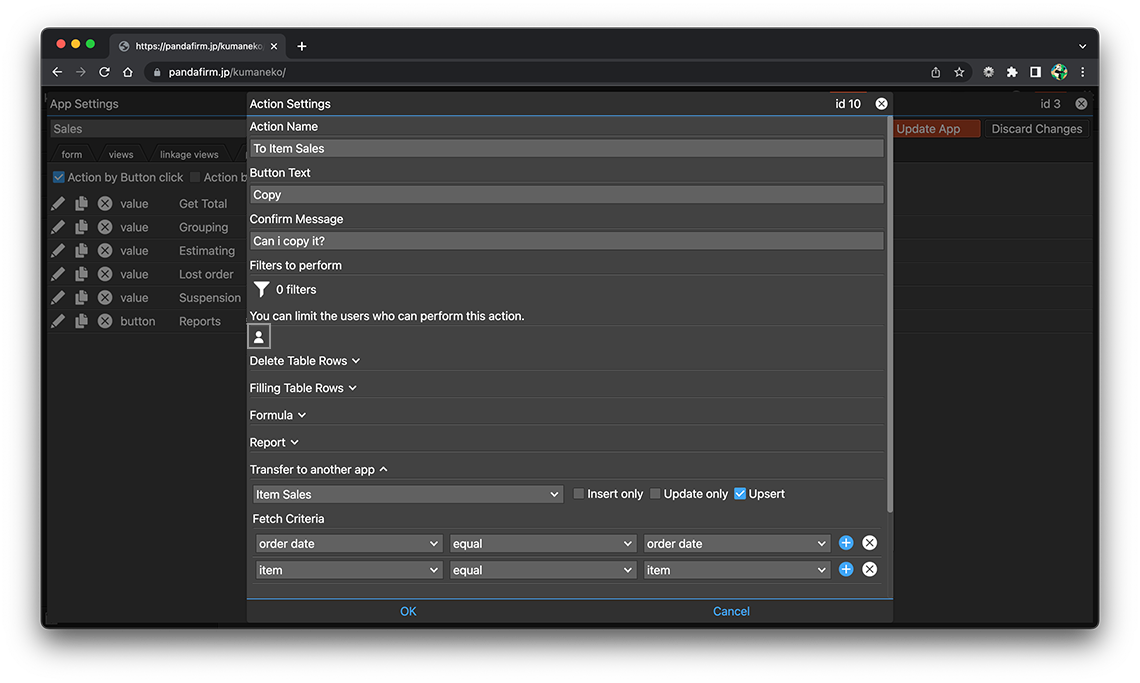
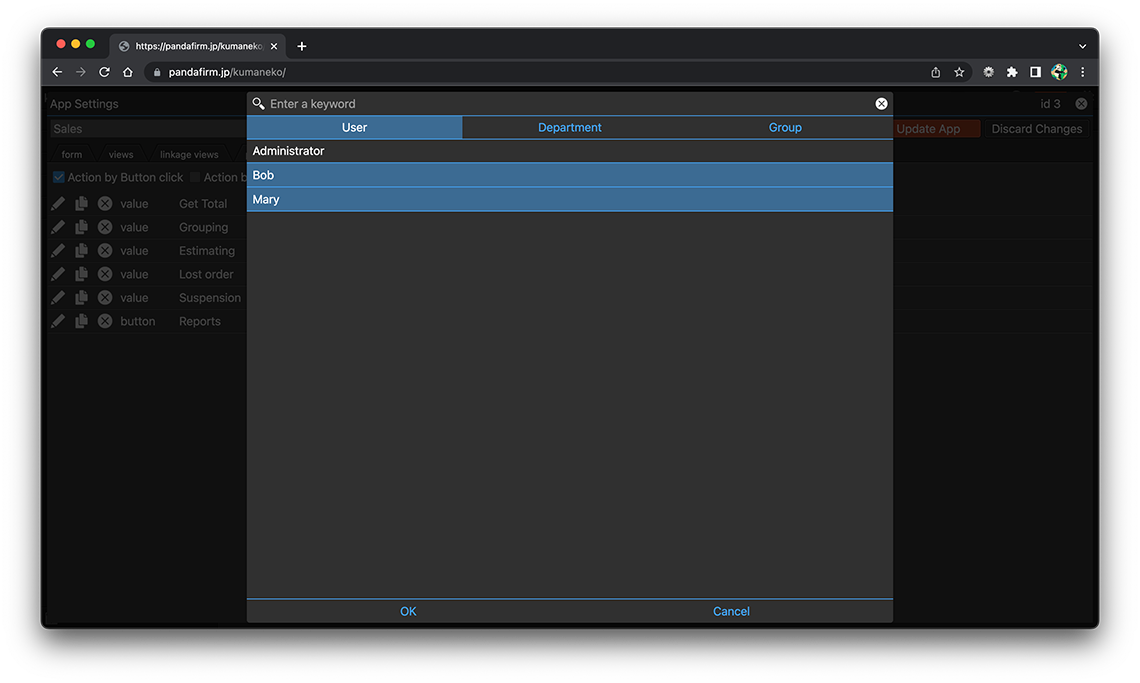
If you configure the execute users, you can execute the action only when the logged-in user matches those users. Click the user button to set the user who has the permission to perform the action.
Execute an Action
The action is executed by clicking the button placed on the record add screen, edit screen, or read-only list view.
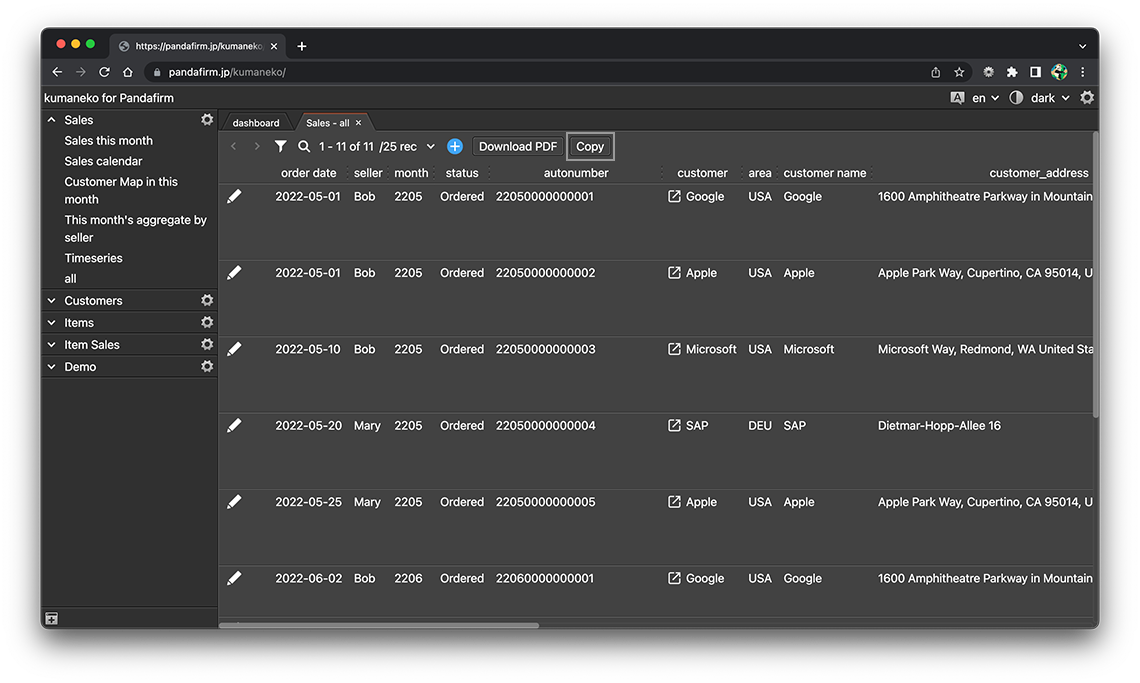
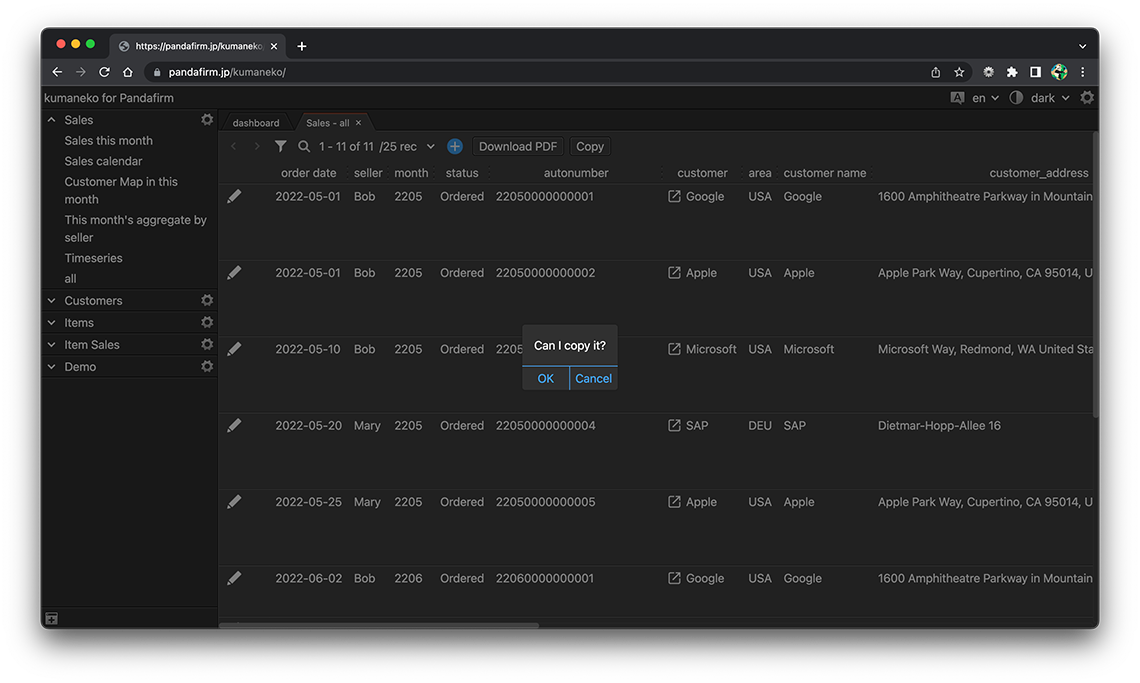
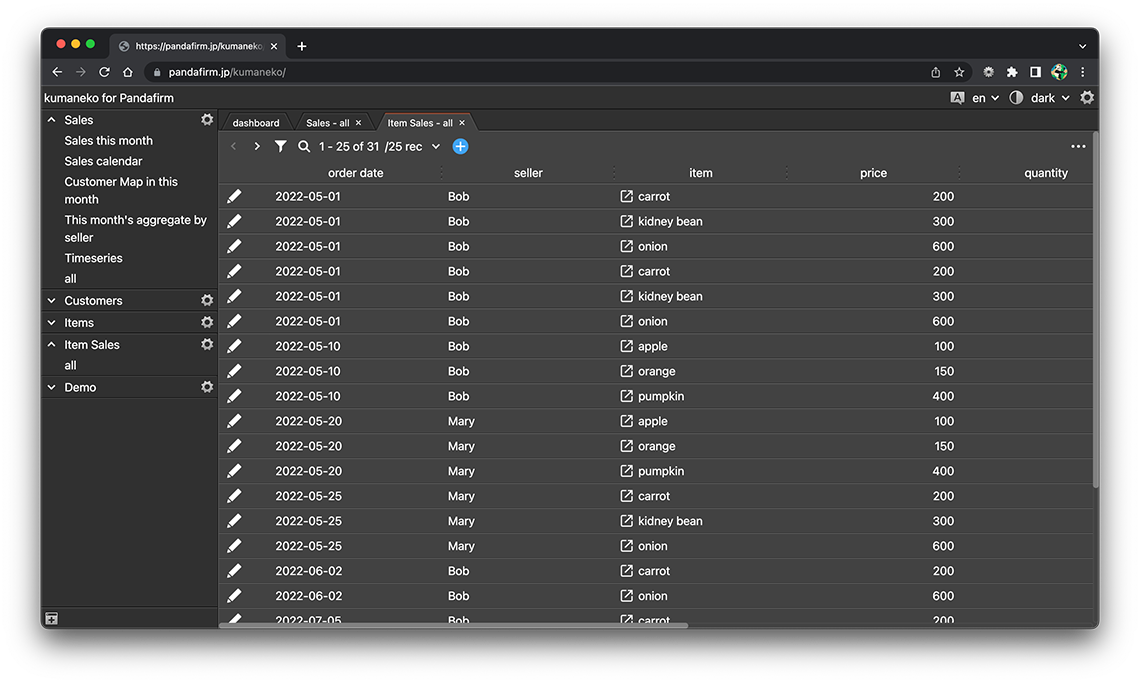
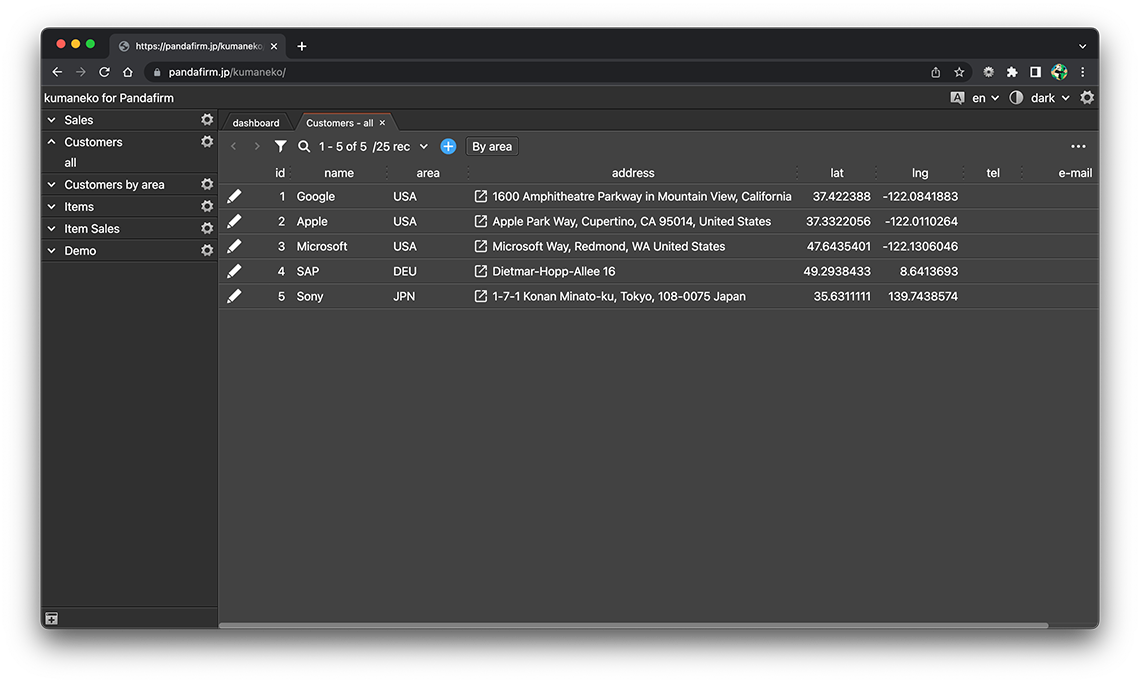
You can also decompose table rows and copy or update to other apps, or combine records from other apps into one table.
- References:
