Use Crosstab view
A crosstab view categorizes records by the values of multiple fields and displays the results of row-wise and column-wise calculations. Creation is done from the "views" tab on the app settings screen.
Configuring a View
-
Check "Crosstab view" from the view type and click the "Add new view" button.

-
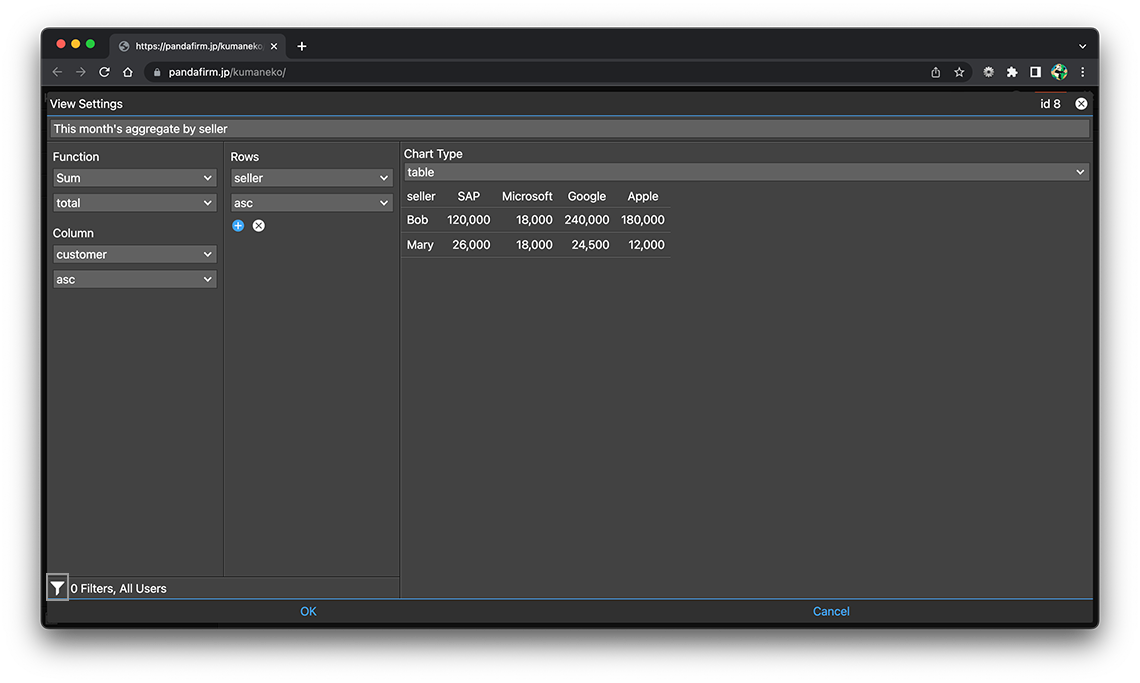
Enter the name of the view and specify the setting items placed on the left side of the screen.

If you specify unsaved fields in the setting items, you may fail to preview and an error message may be displayed.
This is due to the server not being able to recognize the information in the field.
So, if an error message is displayed, please click the "Update App" button on the app settings screen, send the updated contents to the server, and then try to set it up again.
- Function:
-
Specify the aggregation method and the field to be aggregated.
The field types that can be specified differ depending on the aggregation method.
- Sum, Average:
-
number
- Maximum, Minimum:
-
number, date, datetime, time, id, autonumber, createdtime, modifiedtime
- Count:
-
No field specified
- Column:
-
Specify the field for classifying records by column position.
If you specify a date or time field, you can group by "monthly" or "daily".
The following fields cannot be specified.
- textarea, file, canvas, box, spacer, table
- Rows:
-
Specify the field for classifying records by row position.
If you specify multiple fields, they are displayed hierarchically.
If you want to classify only by the fields specified in the column, you do not need to specify the row.
If you specify a date or time field, you can group by "monthly" or "daily".
The following fields cannot be specified.
- textarea, file, canvas, box, spacer, table
- Chart Type:
-
In addition to the tabular format, various charts can be used.
When you switch the Chart Type, its contents are previewed on the right side of the screen.

-
After completing the settings, click the "OK" button at the bottom of the screen, and then click the "Update App" button on the app settings screen.

- References:
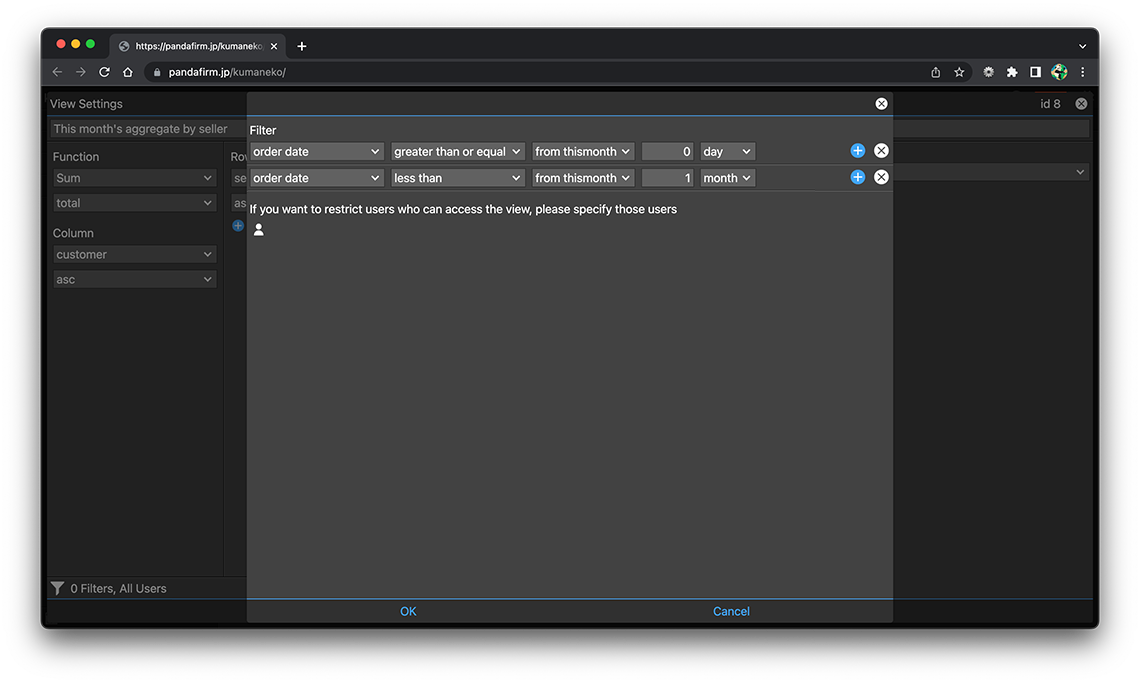
Configure Conditions for Records to Be Displayed in a View
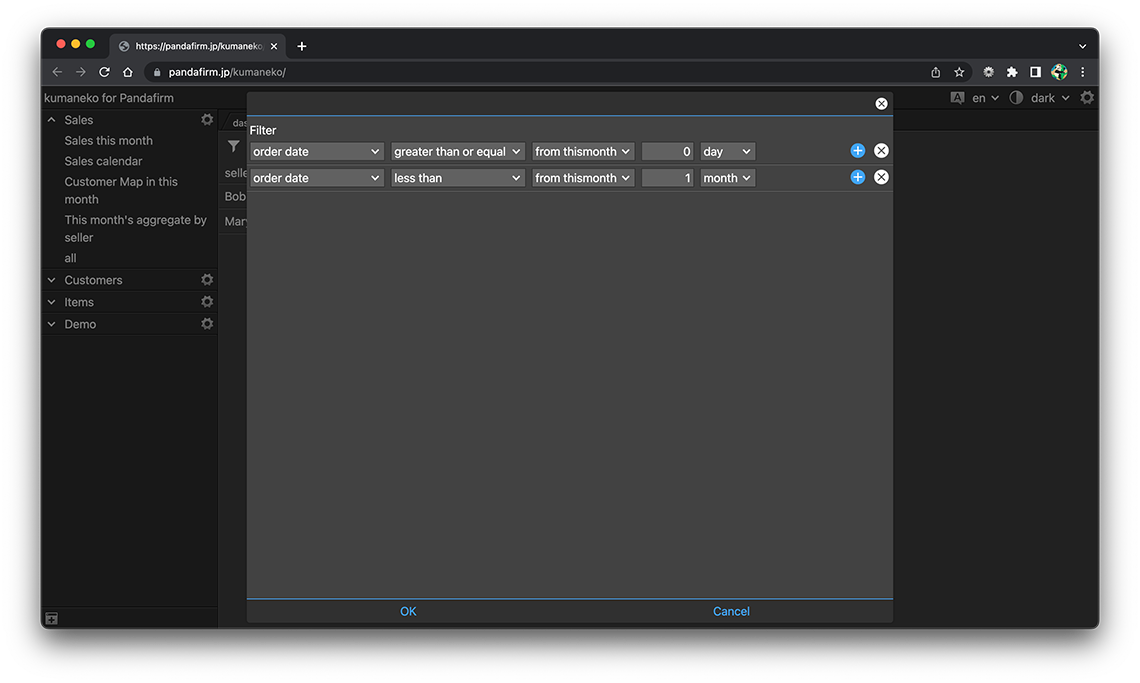
Click the filter button at the bottom left of the screen to set the conditions for the records to display.
- References:
-
Notes when specifying the date period in the record filtering condition
Notes when specifying the dropdown field in the record filtering condition
Notes when specifying the lookup field in the record filtering condition
Notes when entering double quotation in the record filtering condition
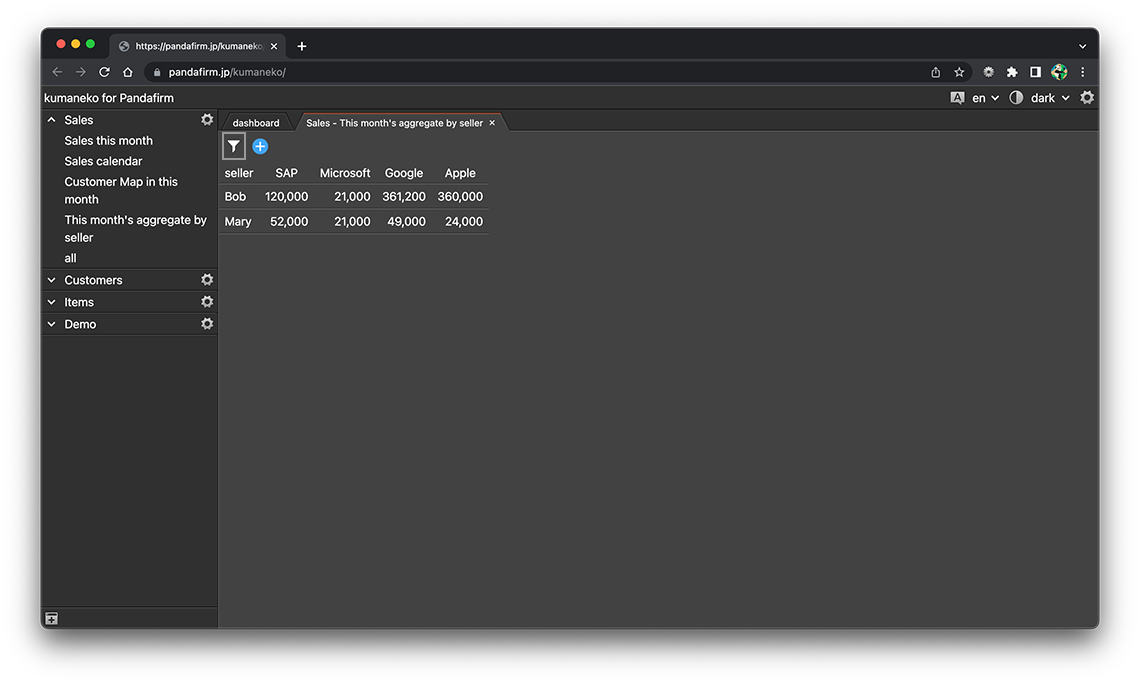
You can also change the conditions of the records to be displayed from the view screen.
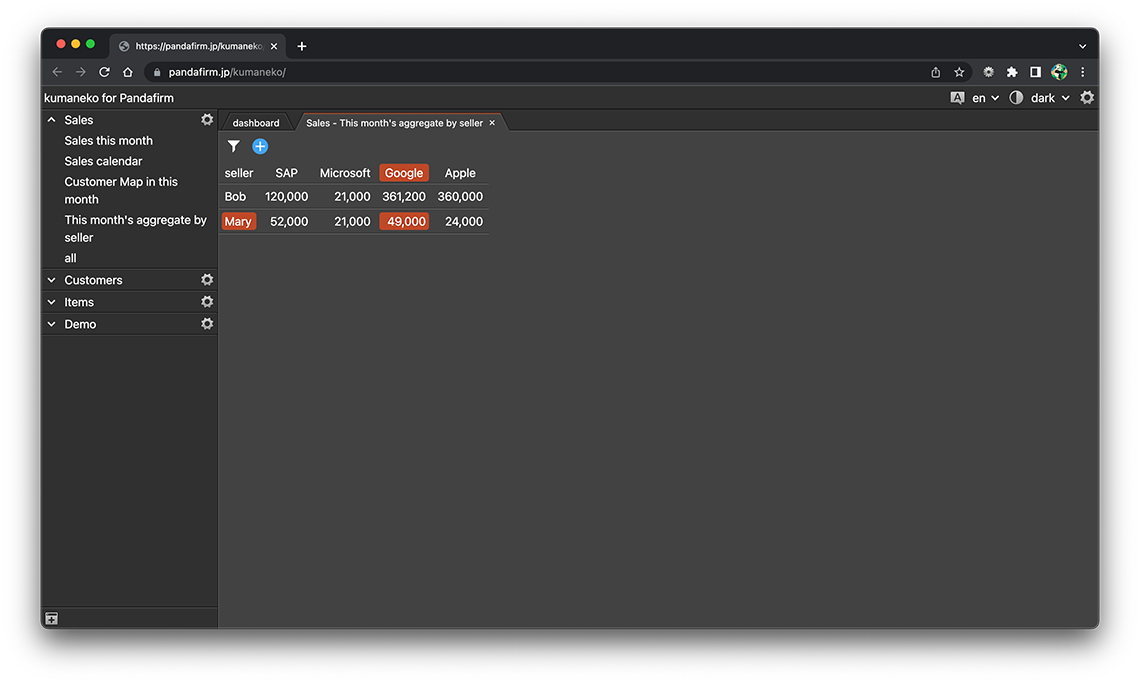
Use a View
Select "App Name"> "View Name" from the list of apps on the left side of the screen to display the created view in the work area.
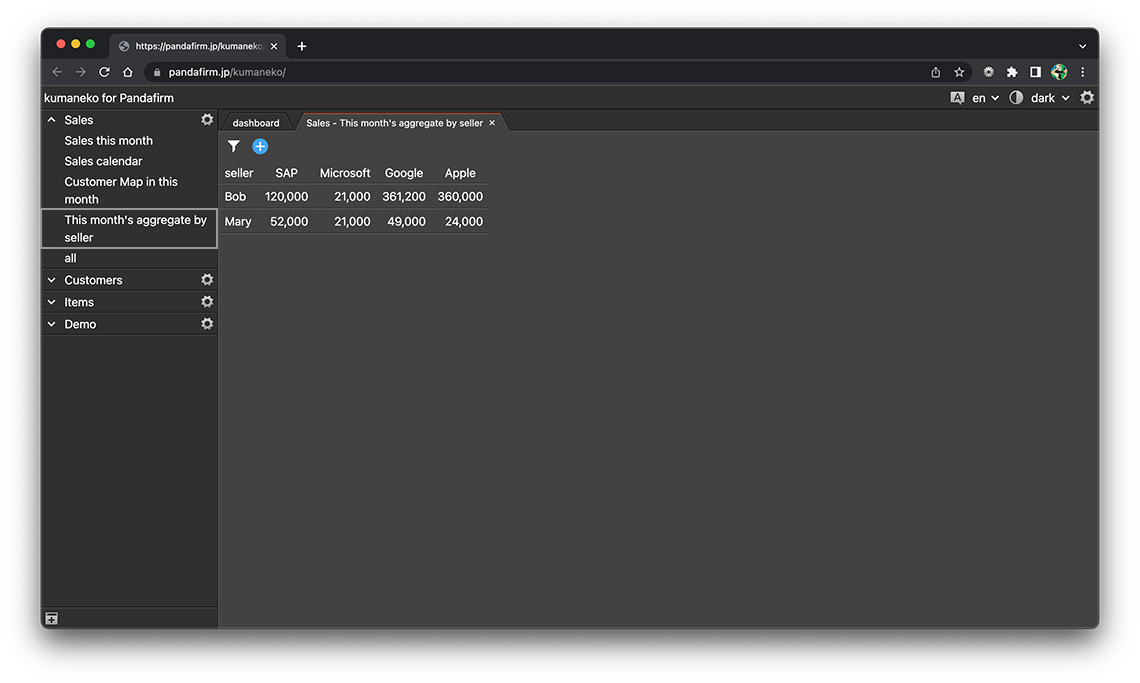
Hovering over a cell highlights the row and column table headers.