
Creating an Form
Create an input form by placeing fields that matches the usage of your app. Place fields on the form by dragging and dropping.
-
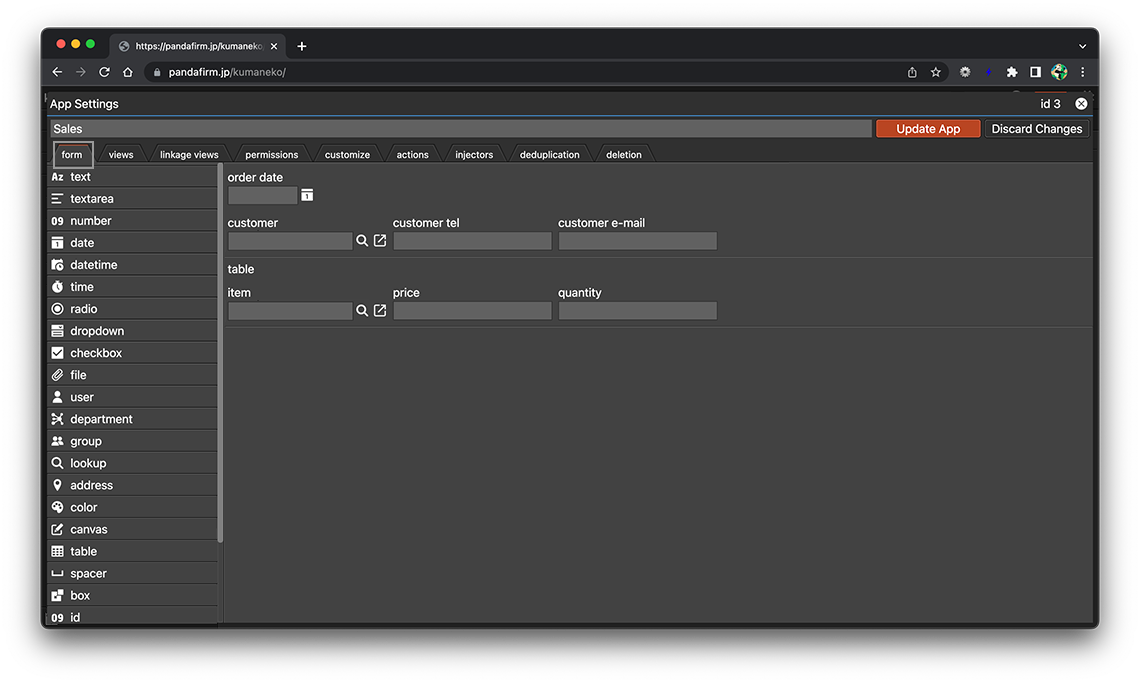
Select the "form" tab on the app settings screen to create an form.
- References:
-
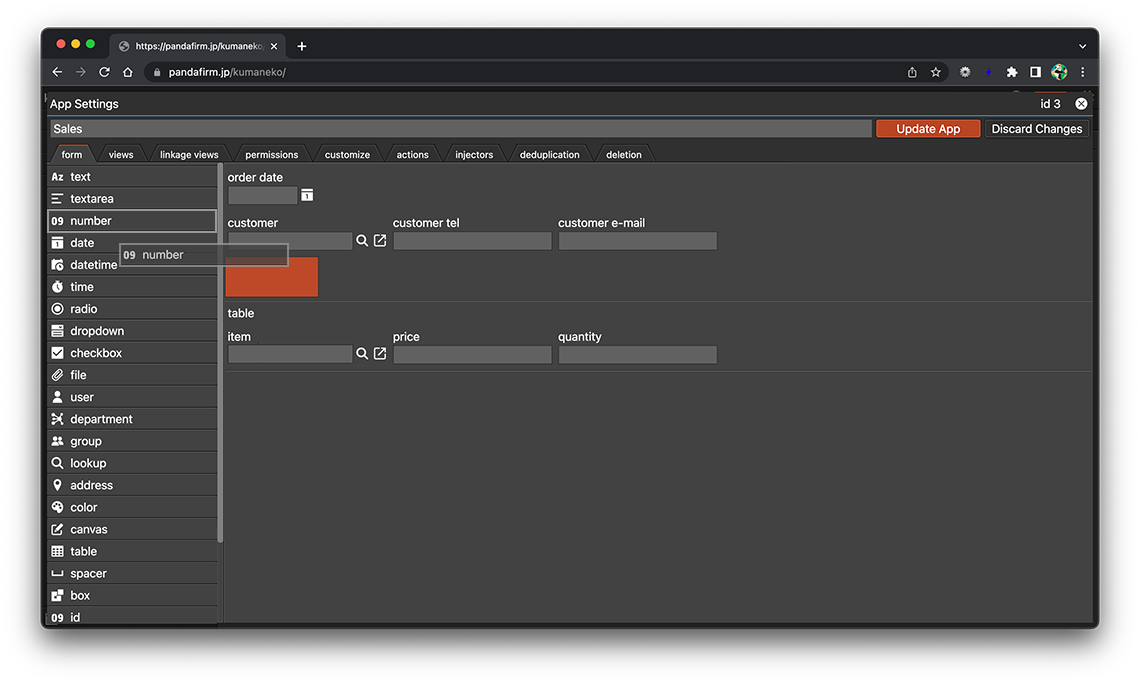
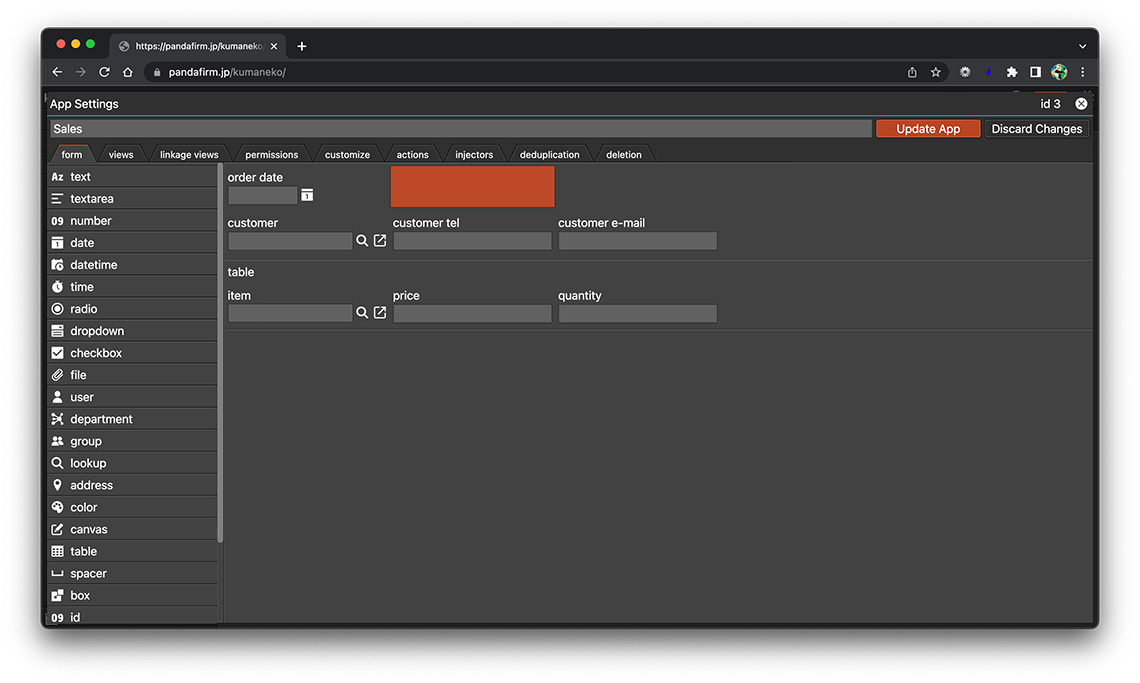
Select the fields to be placed on the form from the field list on the left side of the screen and drag and drop them to the right side of the screen.
- References:
-
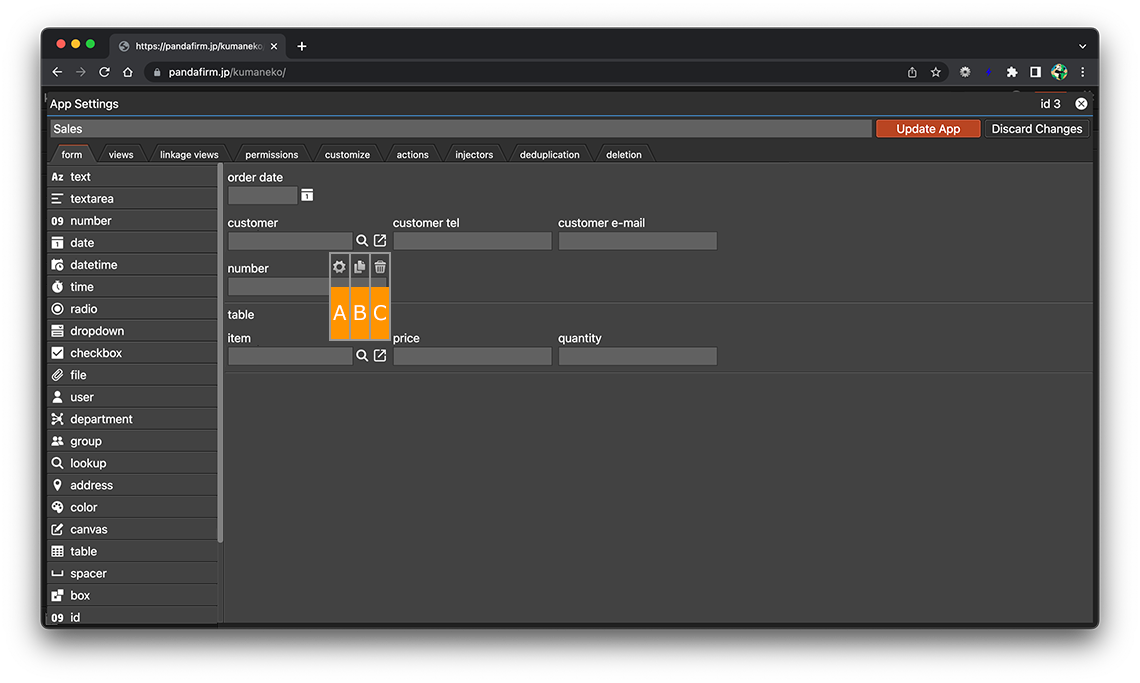
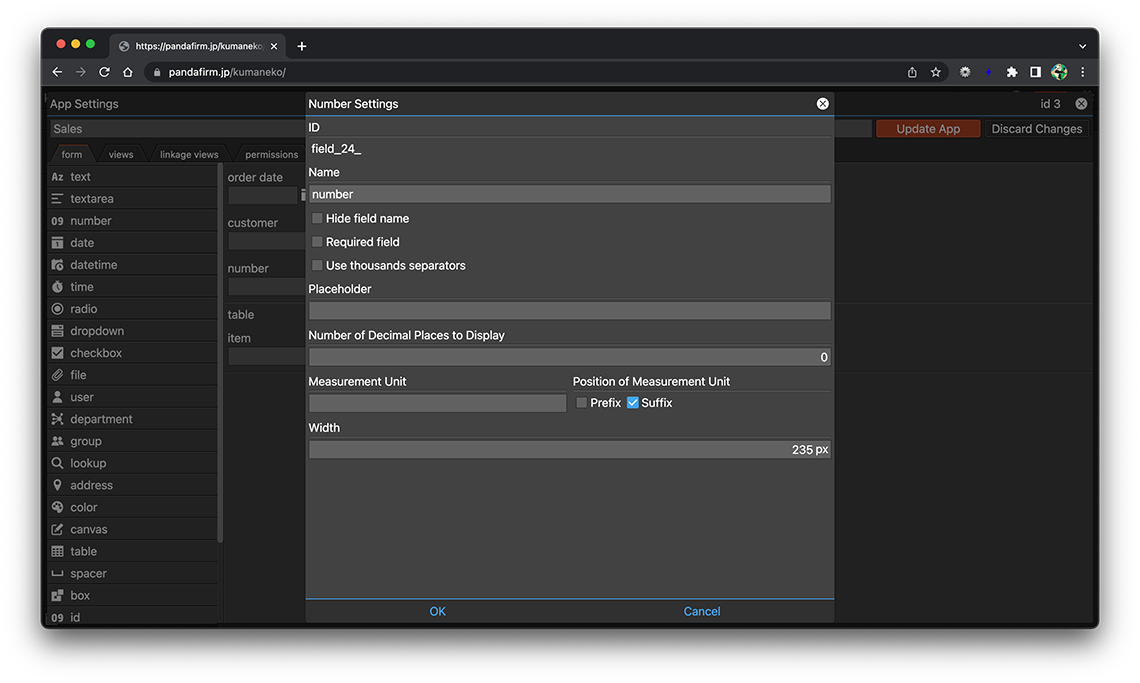
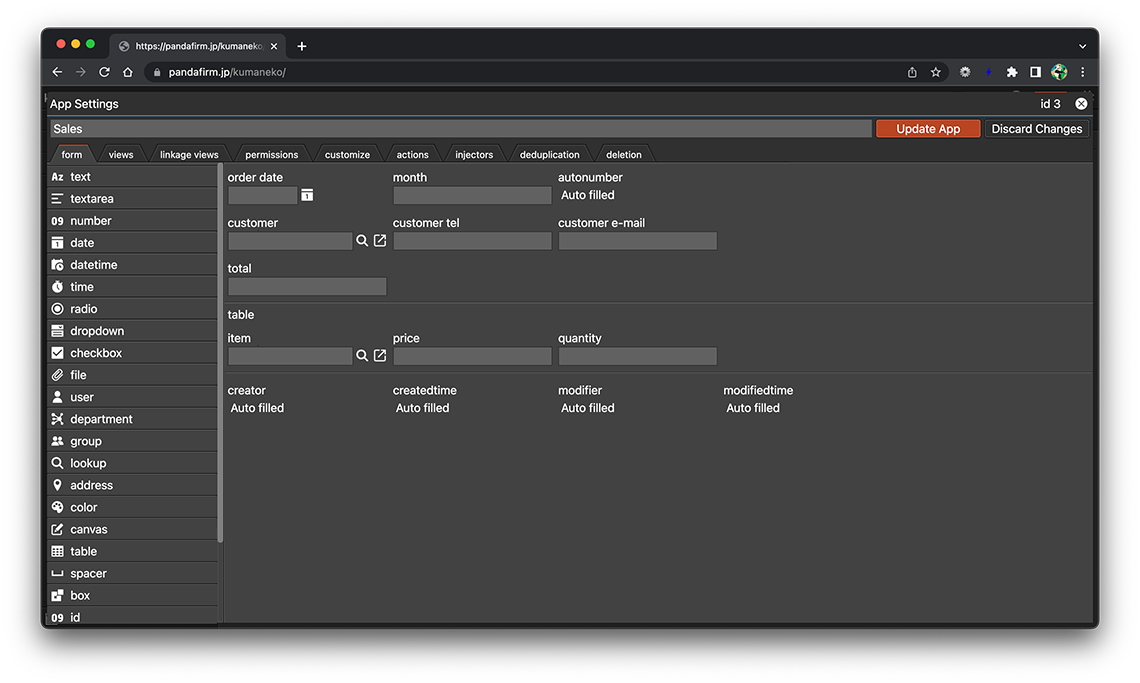
To configure the settings for each field, such as the field name and required fields, click the gear button that appears when you hover over the placed field.
About buttons
- A:
-
Display the field setting screen.
- B:
-
Copy the field.
- C:
-
Delete the field.
The following fields cannot be copied.
- id, autonumber, creator, createdtime, modifier, modifiedtime, box, table
If the width of these buttons and input controls is larger than the width of the field specified on the field setting screen, the specified width will be automatically adjusted.
- References:
-
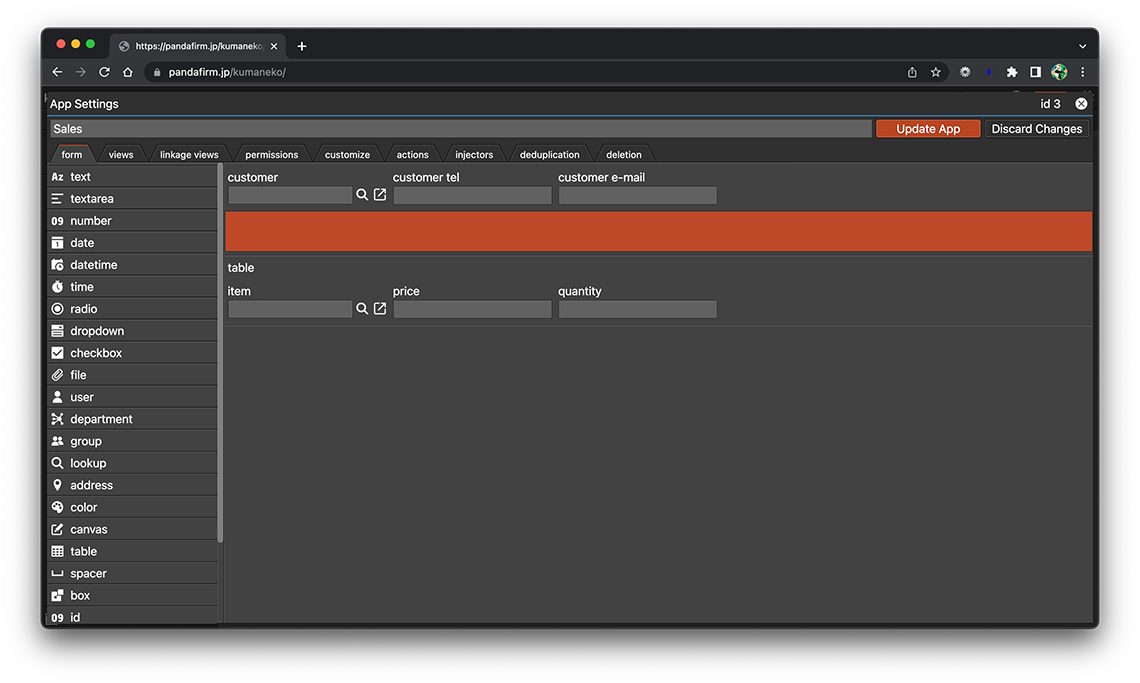
You can freely change the position of the field by moving the cursor to the field and dragging it to the position you want to change.
Fields in the same row can also be moved together by dragging the row.
The following fields cannot be included in tables:
- Fields that are already saved as a field that do not belong to the table
- id, autonumber, creator, createdtime, modifier, modifiedtime, box, spacer, table
The fields added to and saved as a table cannot be moved outside the table or to other tables.
-
When you finish configuring the form settings, click the "Update App" button.
You can make changes to the form afterward even if it is already configured.