Creating Injector
Injector is a feature that allows you to create survey or inquiry forms using fields placed on a form, and automatically saves the content, thus creating a web page.
Configuring a Injector
-
To create a injector, click the "injector" tab on the app settings screen and click the "Add new injector" button.
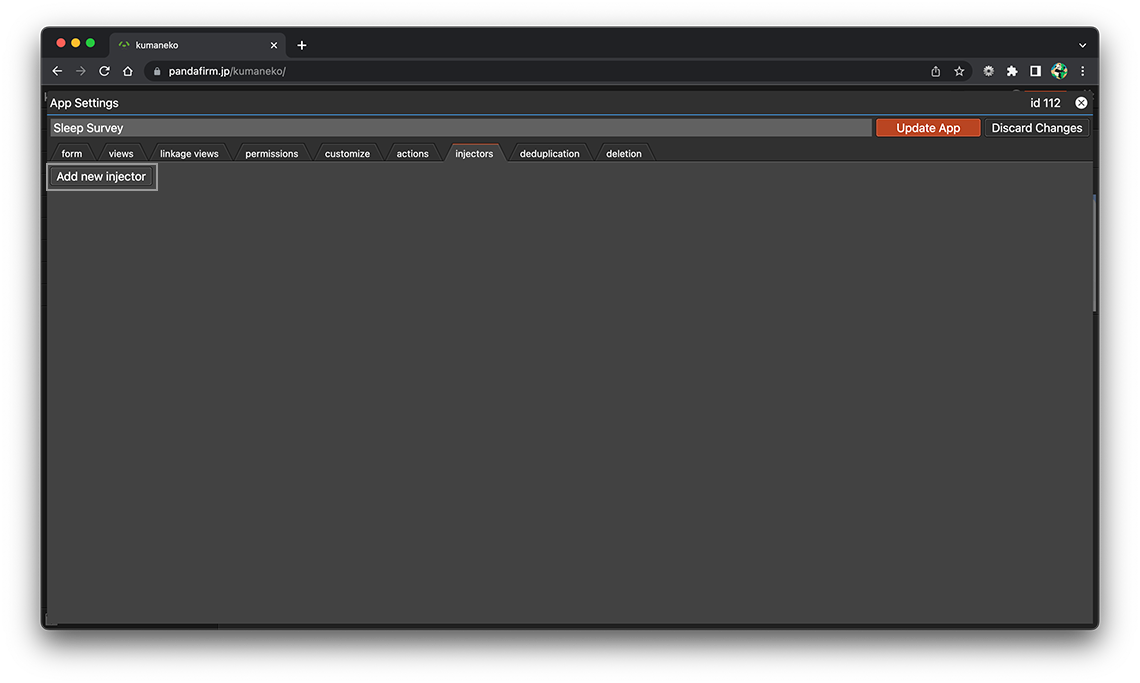
-
The setting screen will be displayed, so make the settings that suit your purpose.
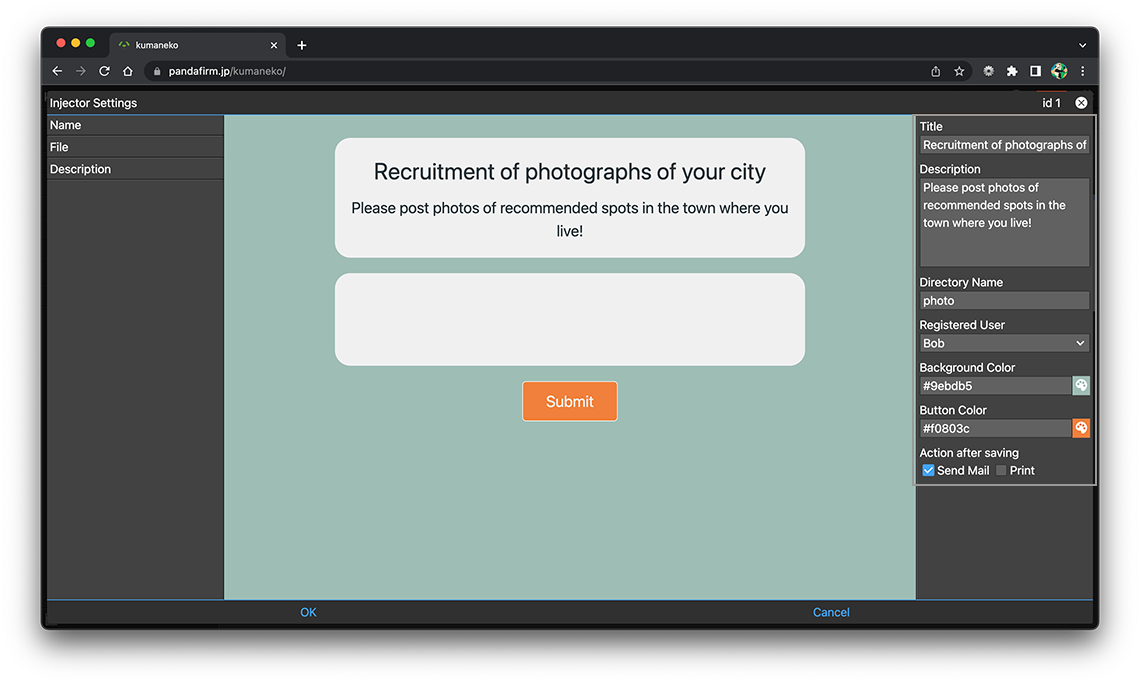
- Title:
-
Enter a title that will appear in the header area at the top of the page.
- Description:
-
Enter a description that will appear in the header area at the top of the page.
- Directory Name:
-
Enter the name of the directory where you want your web pages to be placed.
If the URL where you installed kumaneko is http://example.com/kumaneko/ and you enter "photo" as the directory name, the URL of the web page will be http://example.com/kumaneko/photo/.
- Registered User:
-
Specifies the user corresponding to the creator field of the record being registered in kumaneko.
Users registered in the target application as denied users cannot be specified.
- Background Color:
-
Specifies the page background color.
- Button Color:
-
Specifies the background color of the submit button.
- Action after saving:
-
You can specify actions triggered by a button click as action after saving.
Please specify if you need a confirmation email of the transmission contents or a PDF download.
- References:
Select the field you want to display from the field list on the left side of the screen, and drag and drop it into the center area.
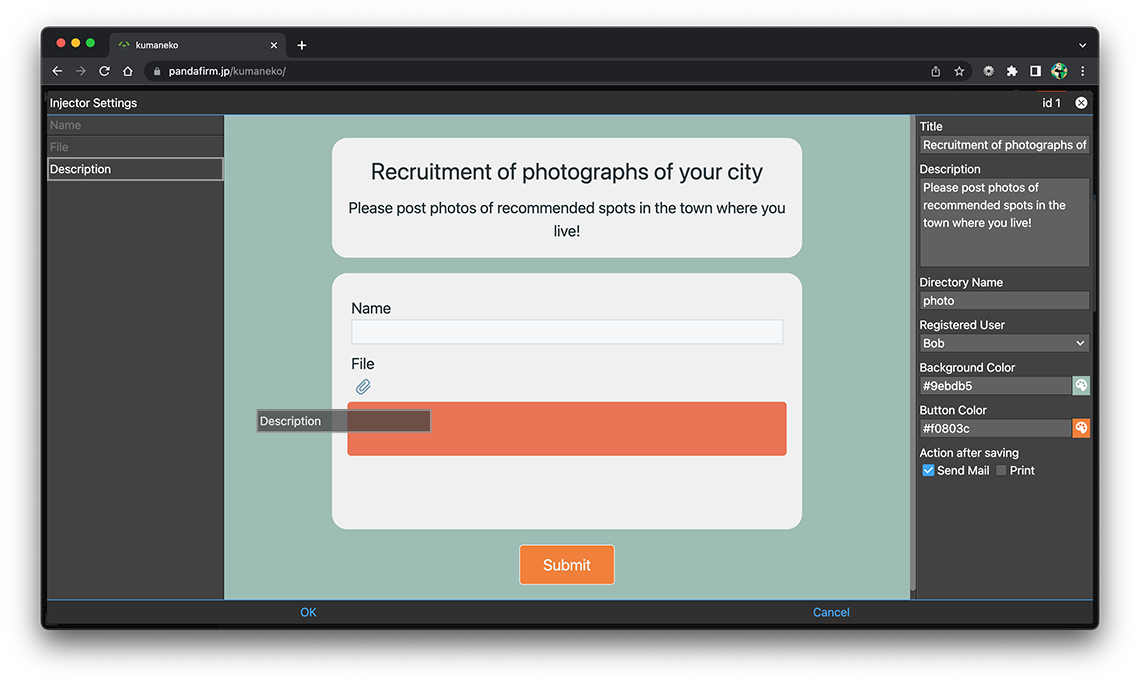
You can change the order of the already placed fields by dragging and dropping.
Fields can be deleted from the trash button that appears when you hover over them.
-
Field name can bechanged from the gear button that appears when you hover over them.
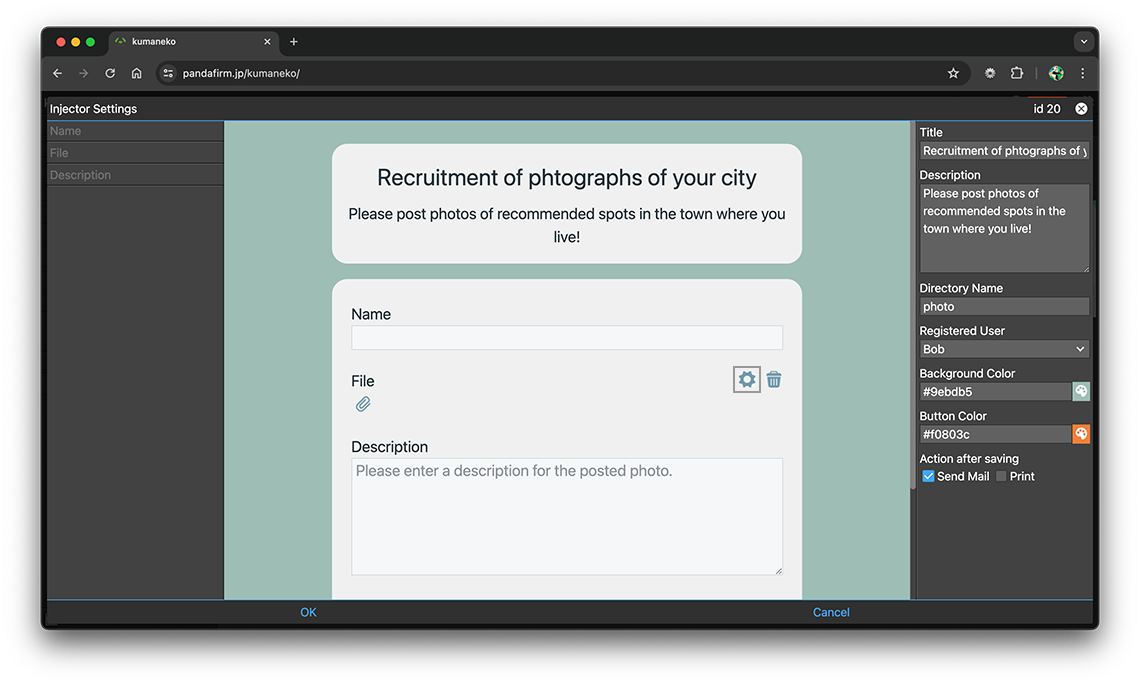
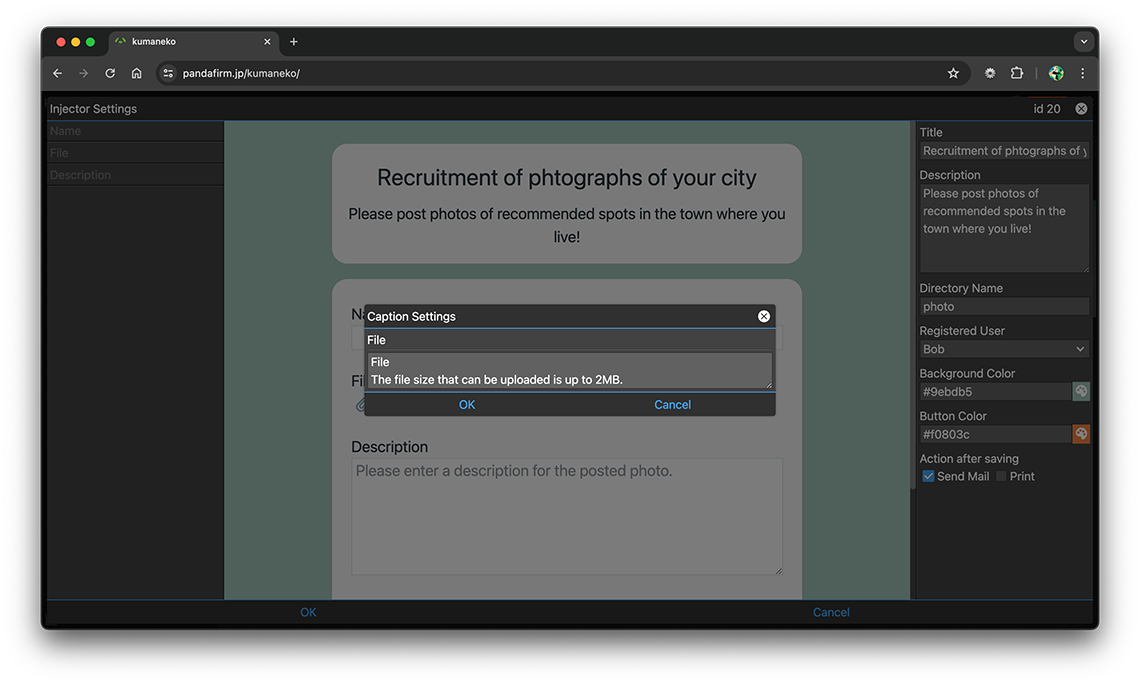
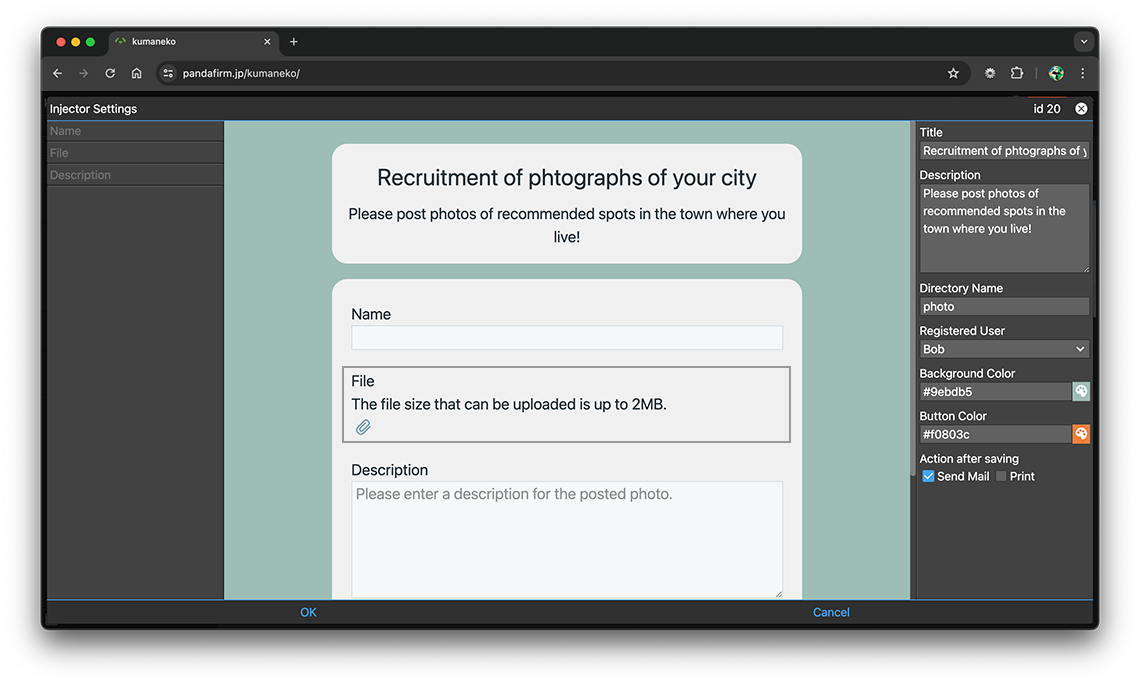
For both changing the field name of the table and changing the field name within the table, you can do so on the same screen.
Be aware that fields with "Hide field name" checked will also be listed.
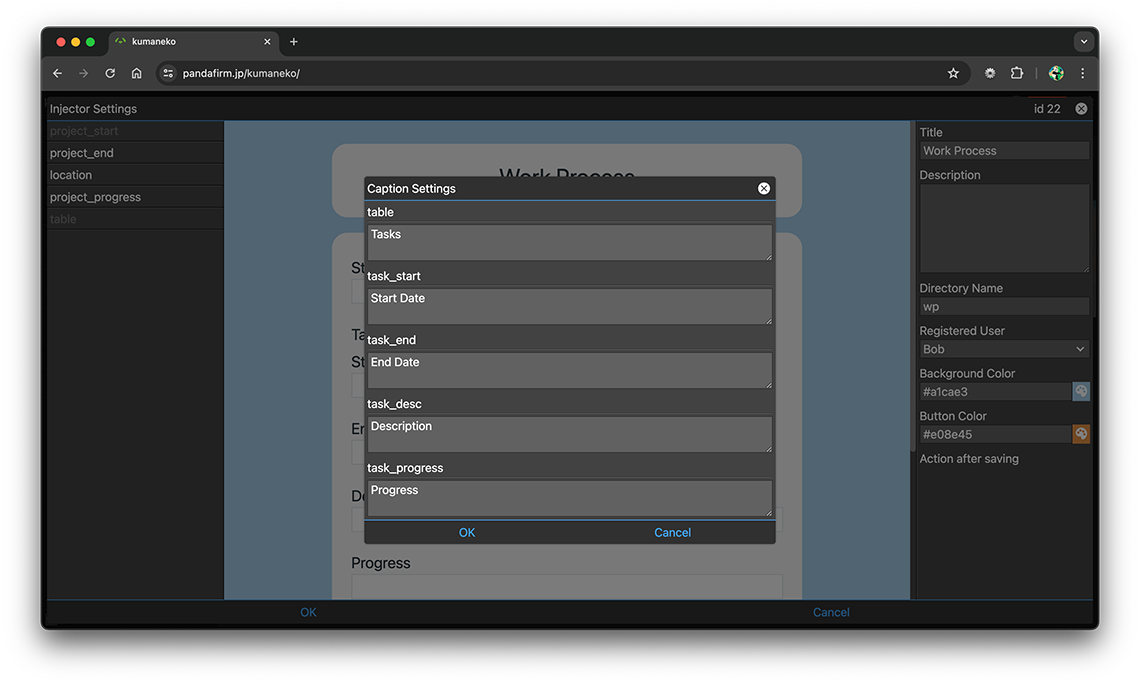
To undo changes, clear the input field for the respective field.
-
After completing the settings, click the "OK" button at the bottom of the screen, and then click the "Update App" button on the app settings screen.
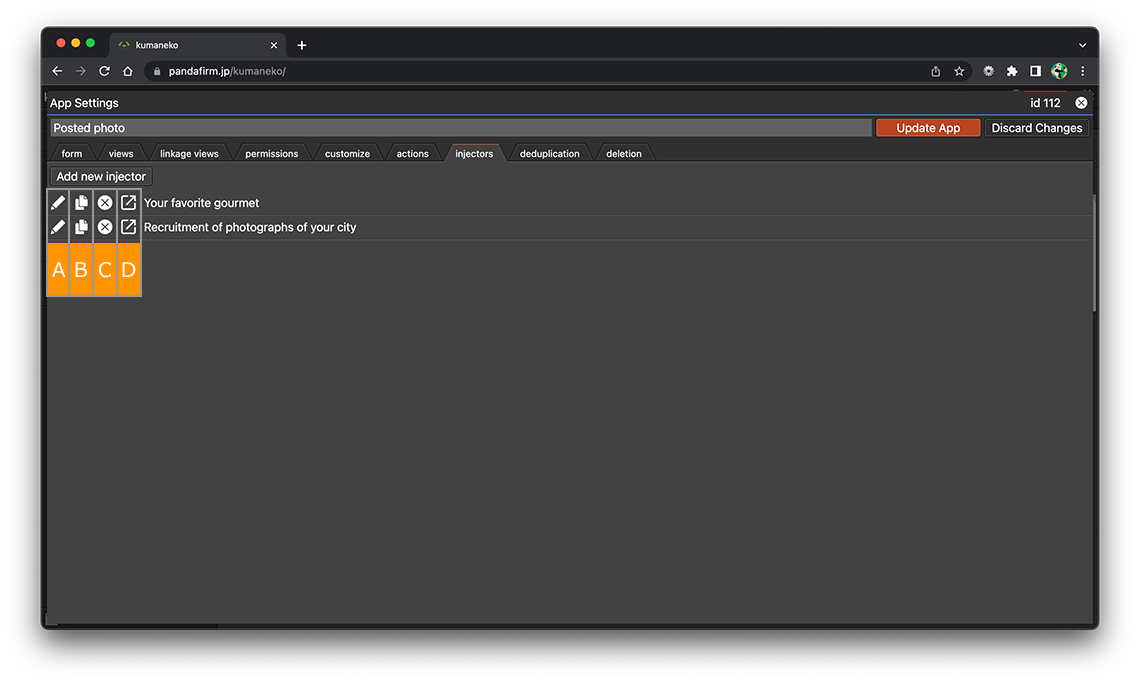
About buttons
- A:
-
Display the injector setting screen.
- B:
-
Copy the injector.
- C:
-
Delete the injector.
- D:
-
Open the created web page.
It will not be displayed if the app has not been updated.
-
You can freely change the order by dragging the injector name up and down.
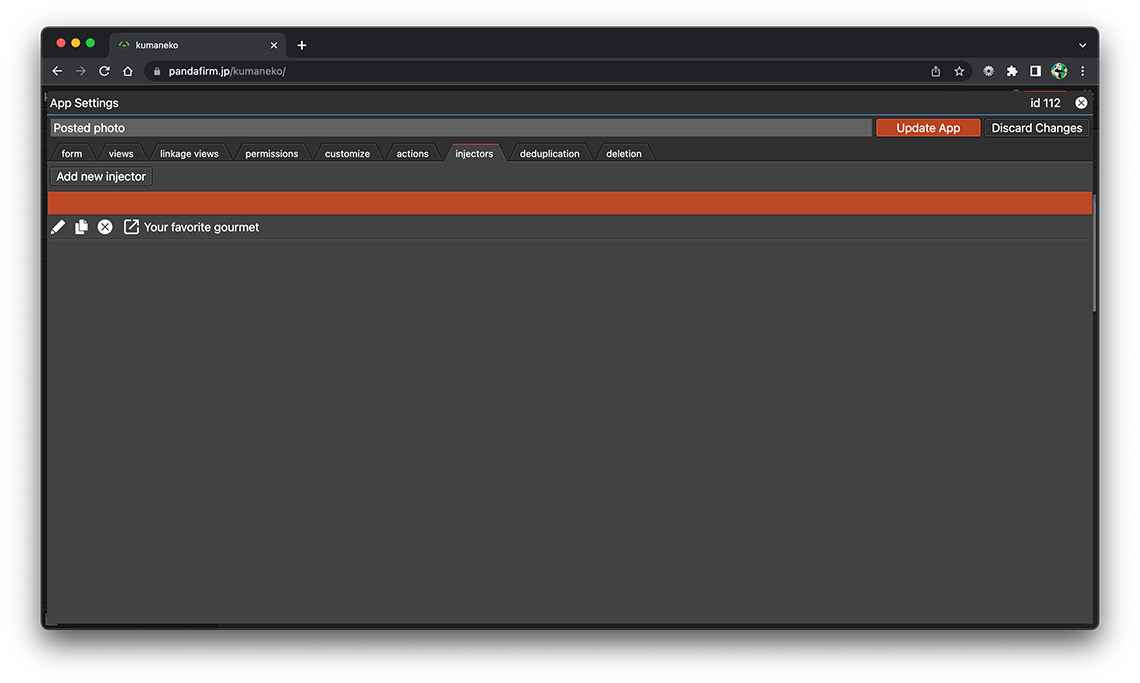
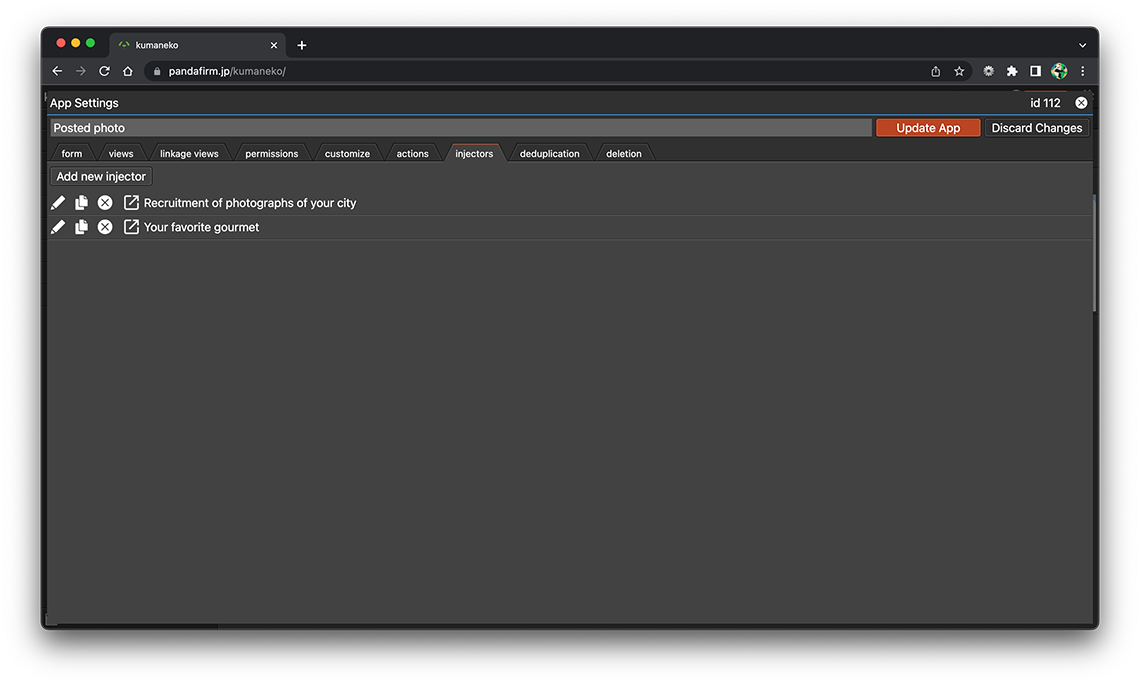
You can make changes to the injector afterward even if it is already configured.
Use a Injector
Open the created web page, enter the values in each field, and click the "Submit" button to register the record in kumaneko.
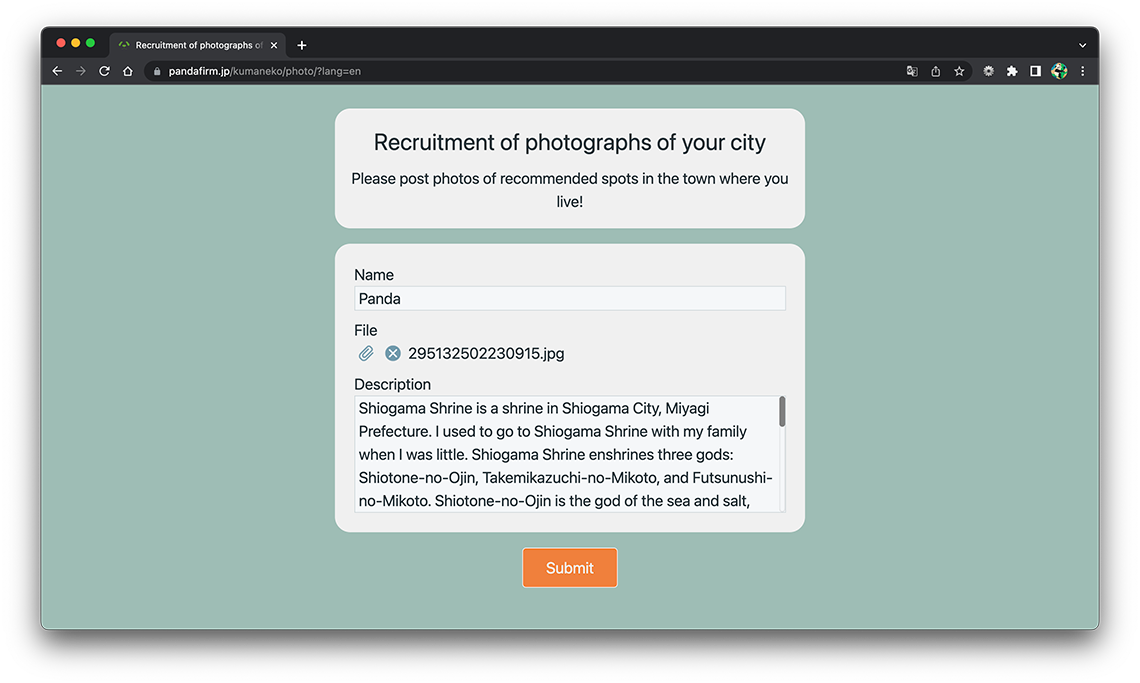
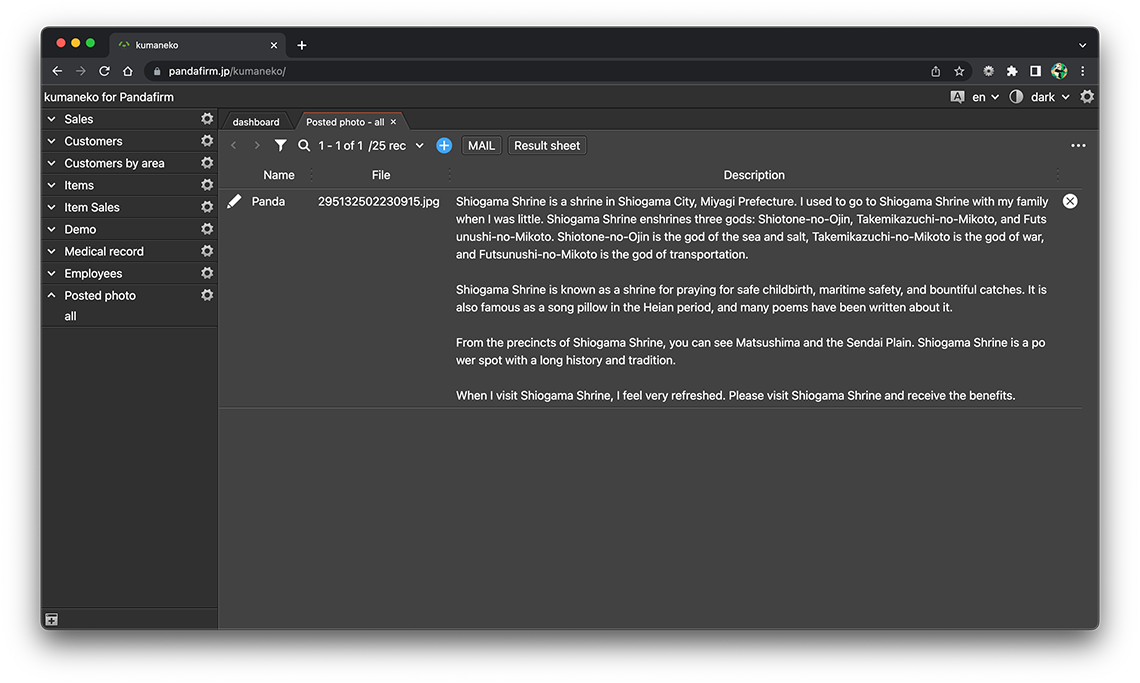
Actions triggered by changes in each field value, as well as customizations using JavaScript, will operate in the same way as they do on kumaneko.
- References:
