Adding and Updating Records in Bulk
You can also upload a CSV file to add or update records in bulk.
This operation cannot be performed in the app where the table field is placed.
-
Adding sample data to the app.
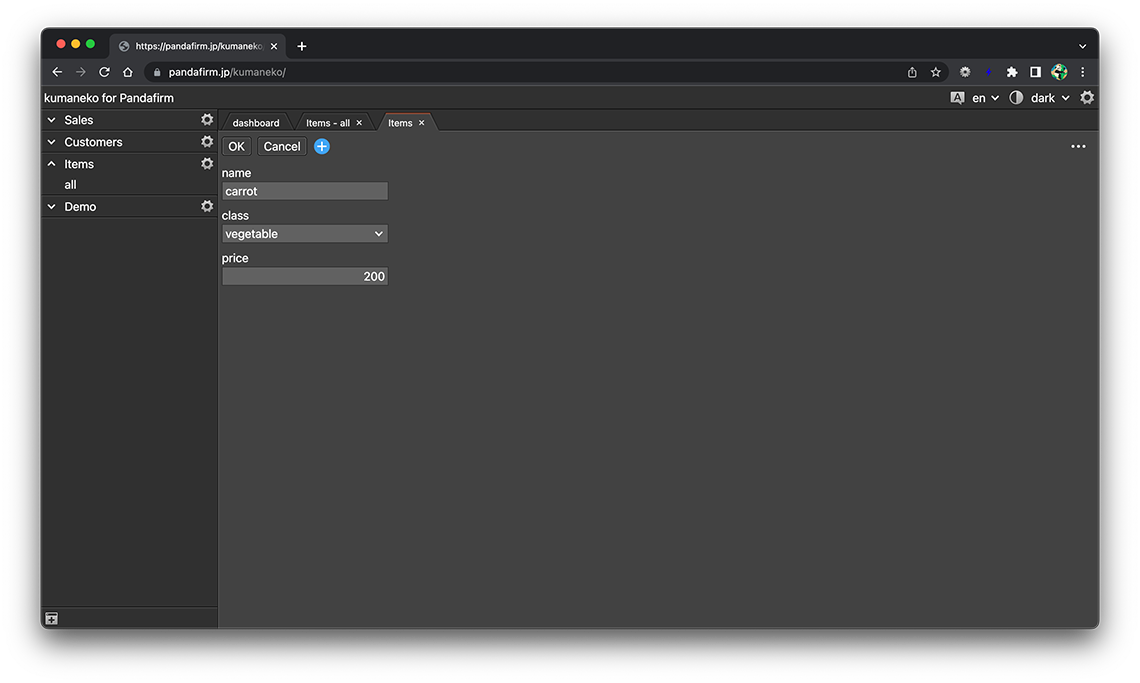
If you know the input format of the value for each field, you do not need to add sample data.
-
Click the "Export to File" button from the menu button at the top right of the list view.
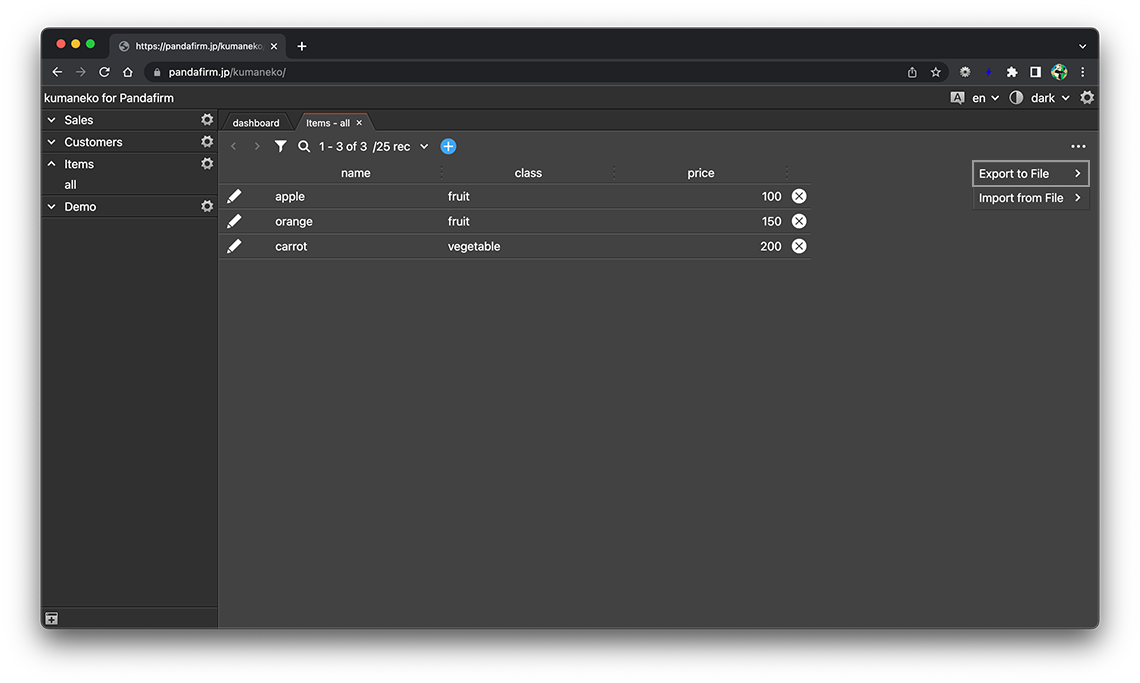
-
Open the downloaded CSV file and add or edit the data.
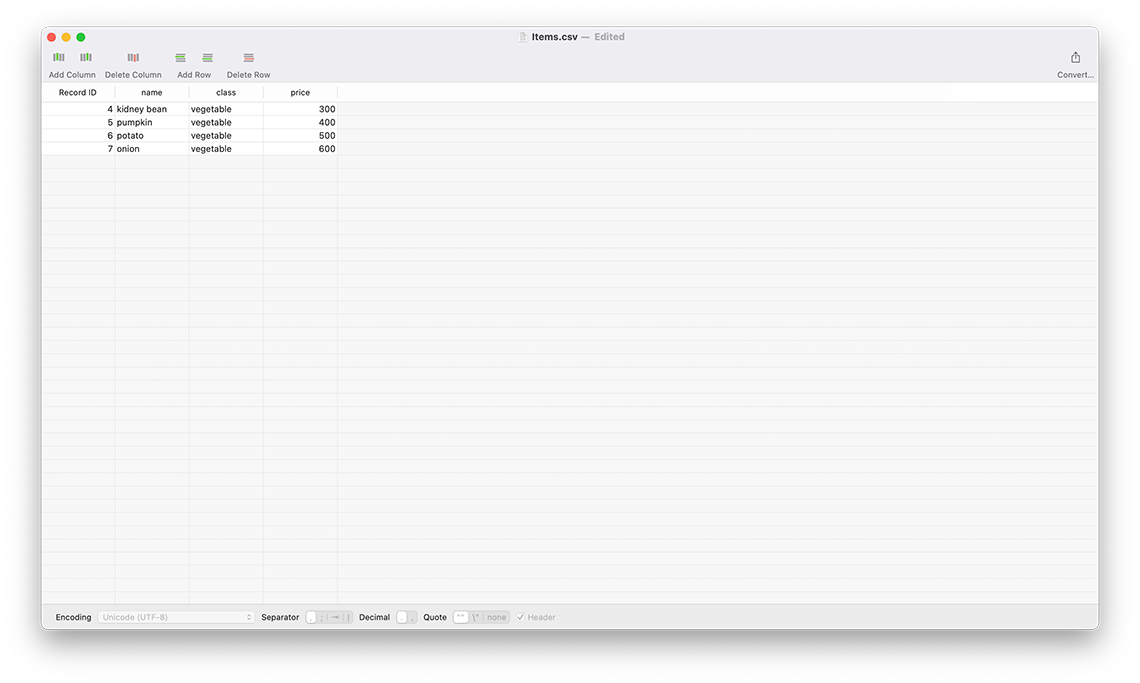
The following fields require attention when creating data.
- datetime:
-
Enter in UTC (yyyy-mm-ddThh: mm: ssZ) format.
- checkbox:
-
If there are multiple values to be registered, enter them separated by ":".
- user:
-
Enter the userID.
If there are multiple values to be registered, enter them separated by ":".
- department:
-
Enter the departmentID.
If there are multiple values to be registered, enter them separated by ":".
- group:
-
Enter the groupID.
If there are multiple values to be registered, enter them separated by ":".
- lookup:
-
Enter the record ID of the copy source record.
The fields specified in "Field Mappings" are also automatically registered.
-
Click the "Import from File" button from the menu button at the top right of the list view to load the created CSV file.
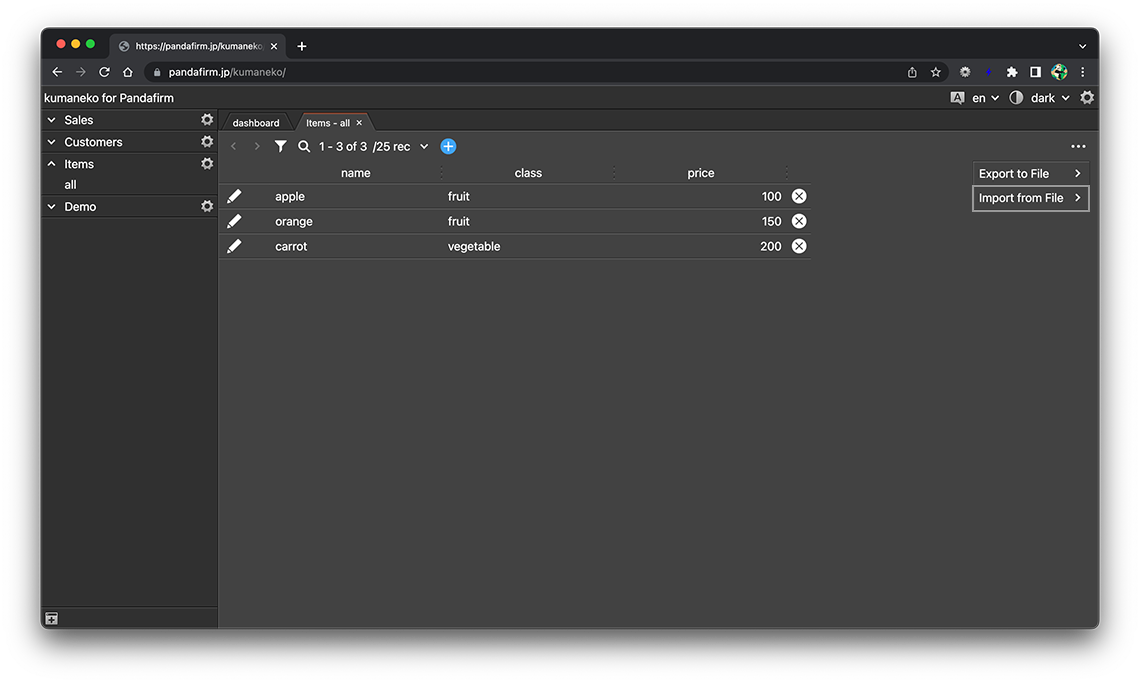
When the file is loaded, the following screen will pop up. Complete the settings and click the "OK" button to start importing.
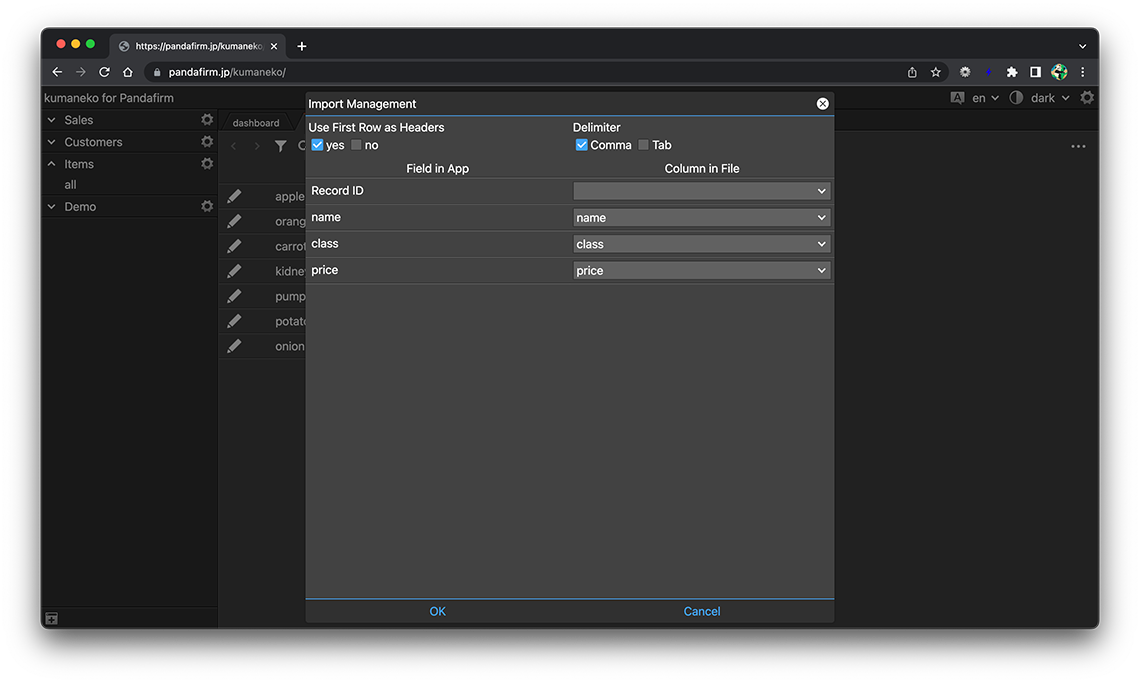
If you want to update the record, specify the Record ID.
-
When the import is completed, the added / updated records will be displayed in a list on the "all" view.
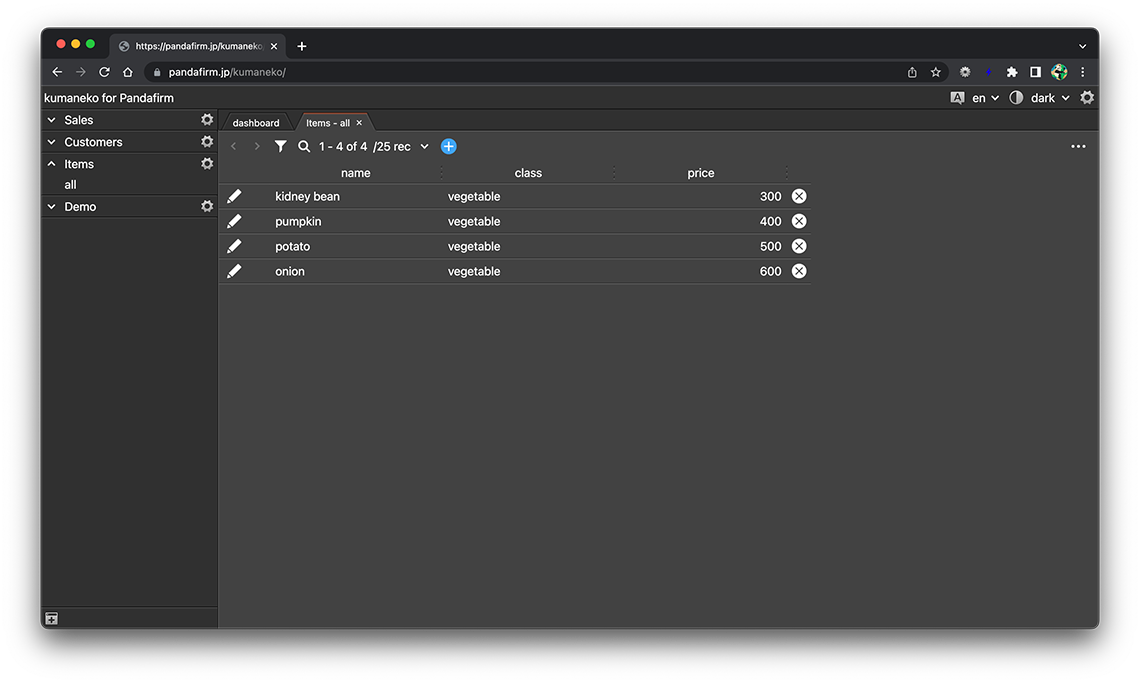
Please note that the filtering conditions have been changed so that get records where the modifiedtime field is later than the import start time.
If the "all" view is disabled, it will not be displayed.
Fields that do not accept data additions or updates from file import
You cannot add or update data in the following fields via file import.
file, canvas, id, autonumber, creator, createdtime, modifier, modifiedtime, box, spacer, table
