
Use Dashboard
Immediately after logging in to kumaneko, you will see only one tab in your work area called "dashboard", but in this work area you can view each app's view as a panel.
-
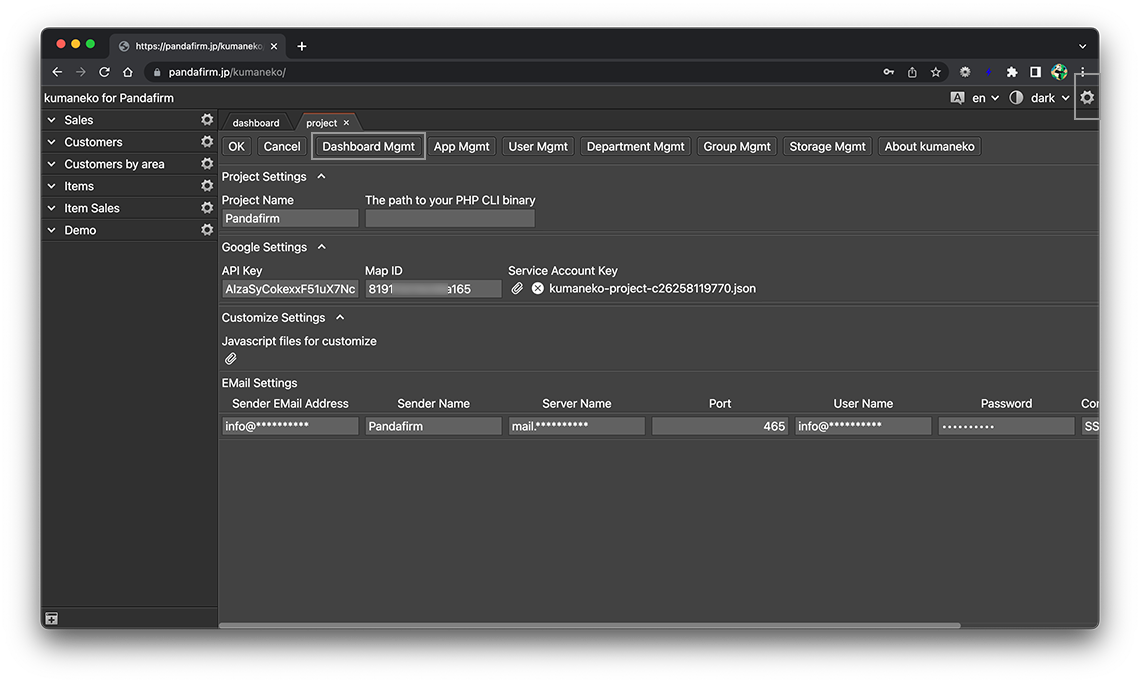
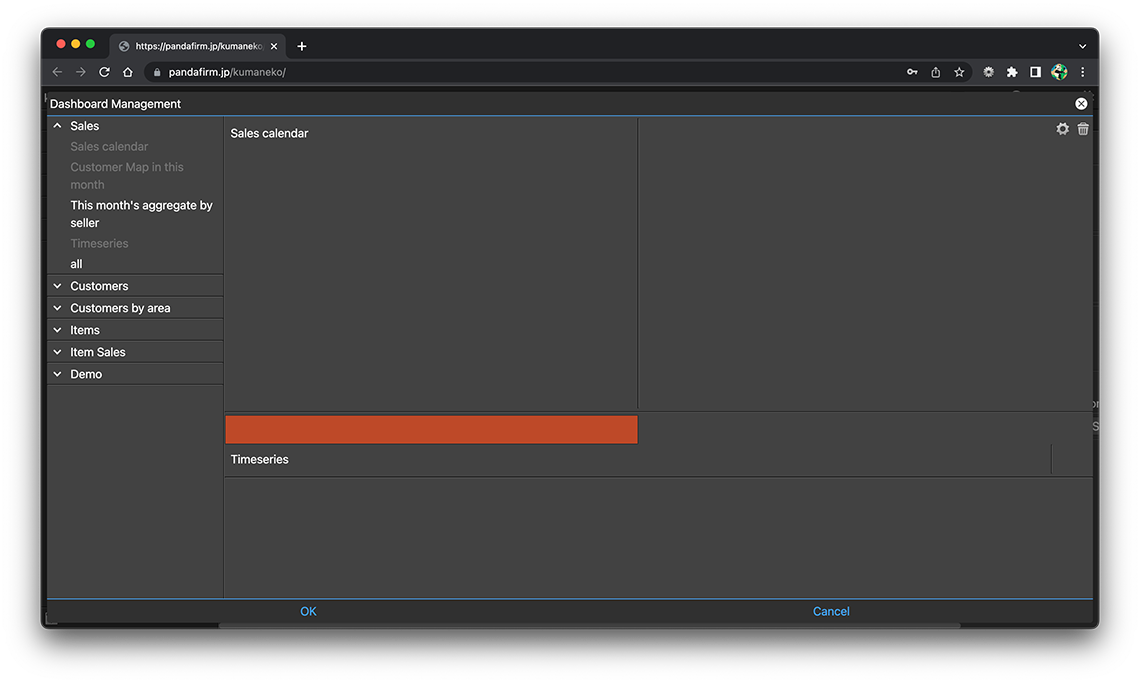
Click the gear button on the upper right of the screen to display the project setting screen, and click the "Dashboard Mgmt" button in the header area.
-
Select the views to be placed on the dashboard from the view list on the left side of the screen and drag and drop them to the right side of the screen.
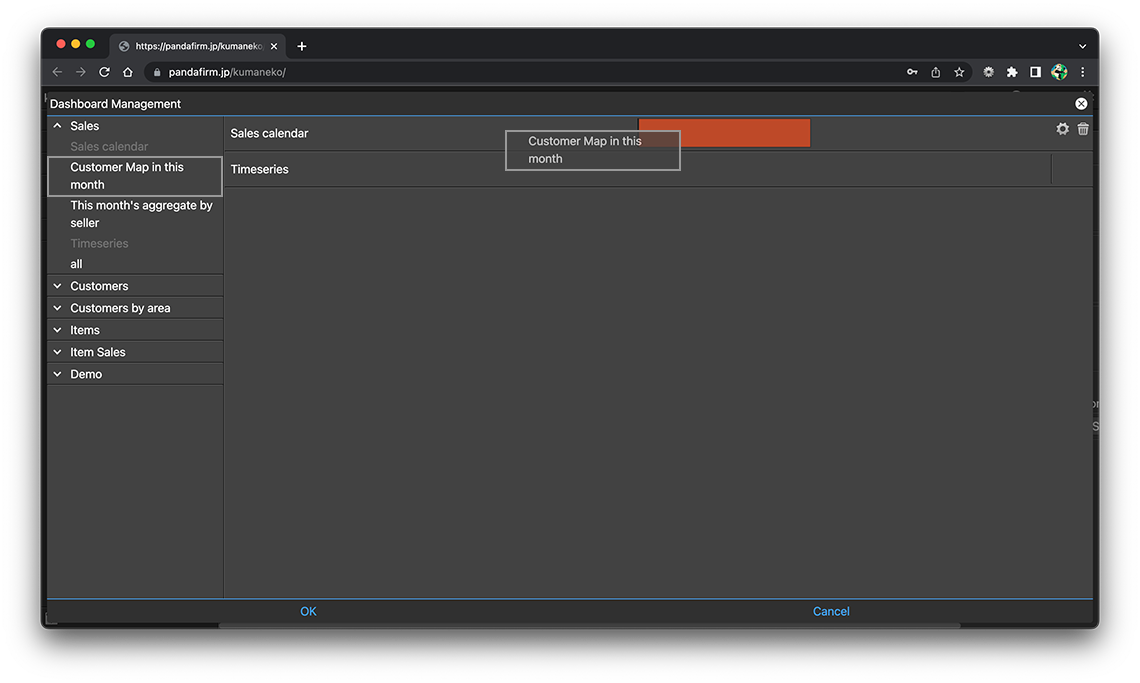
Editable list views and customize views cannot be placed.
-
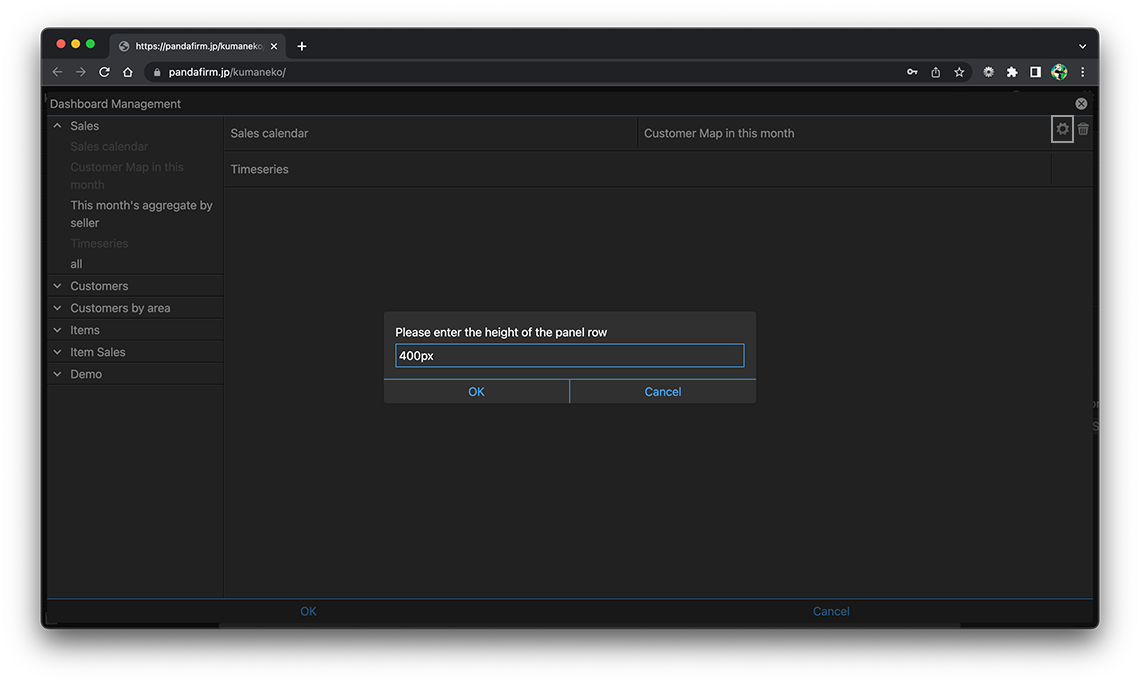
You can adjust the width and height of the panel from the gear button that appears when you place the cursor on the right side of the placed view or row.
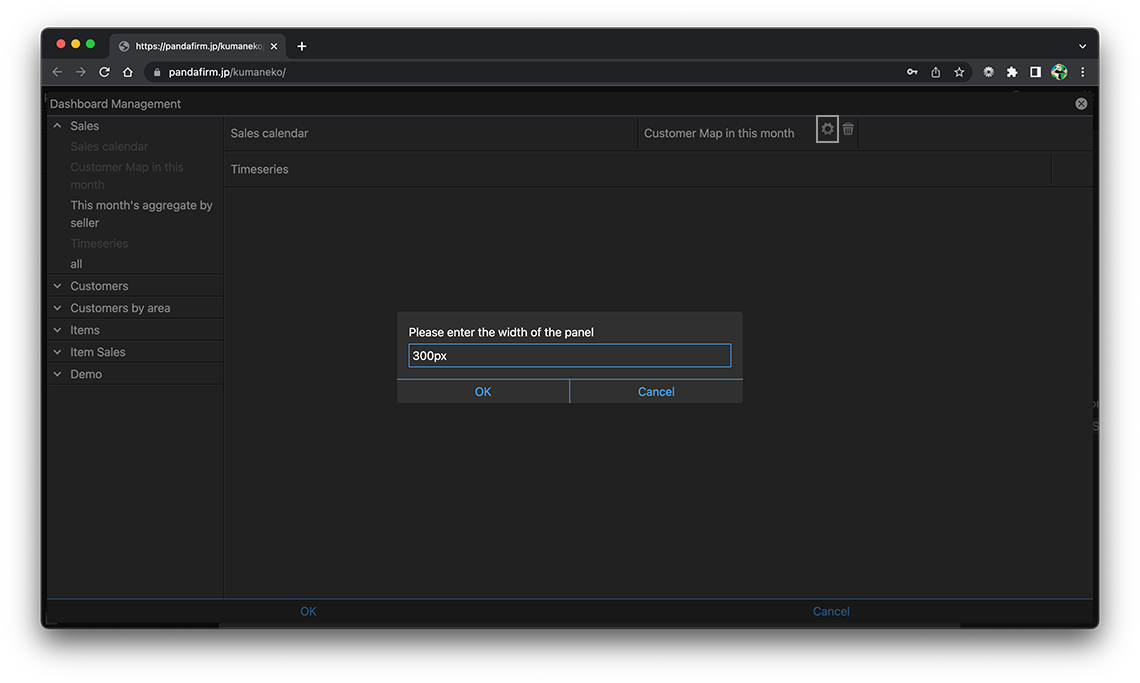
The width unit can be "%" in addition to "px".
If you do not specify a height, the row height is adjusted so that you can see the internally placed content without scrolling.
-
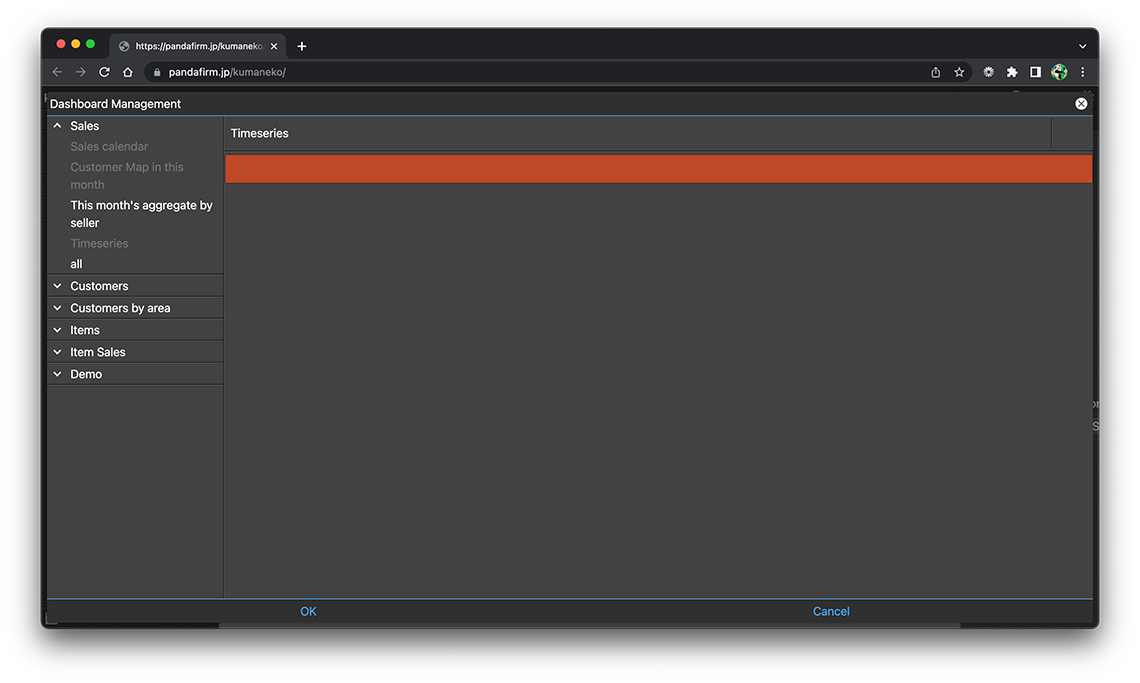
You can freely change the position of the panel by moving the cursor to the panel and dragging it to the position you want to change.
Panels in the same row can also be moved together by dragging the rows.
-
Click the OK button when the placement is complete.

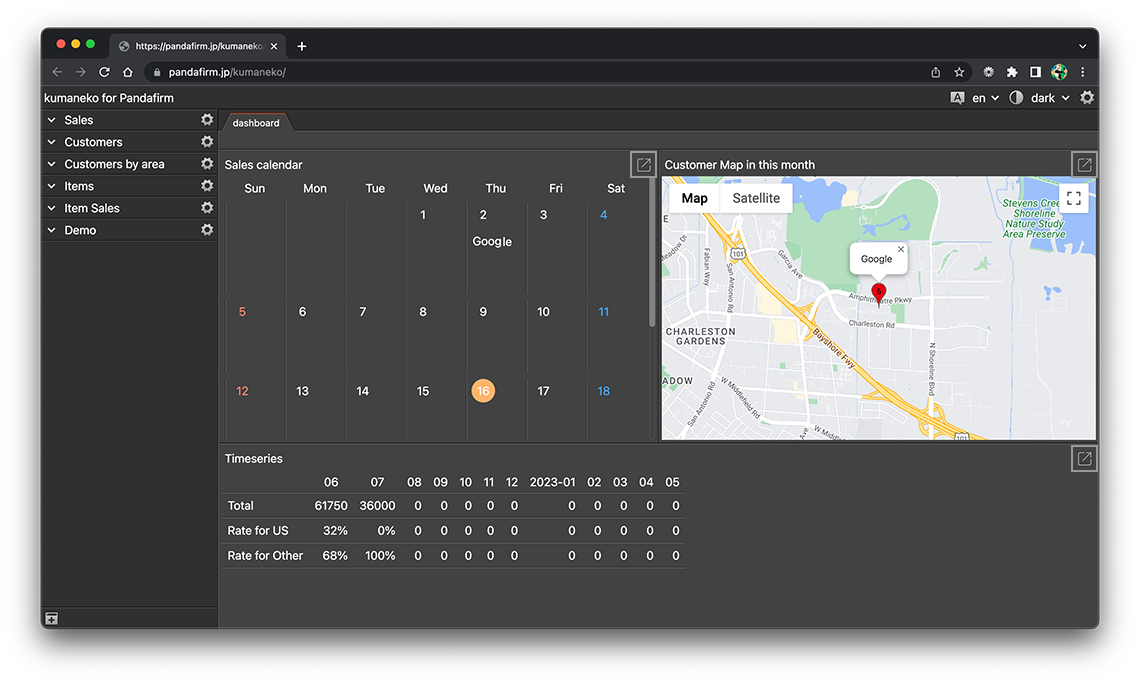
If you click the Open view button at the top right of each panel, the view screen will open.
You can make changes to the dashboard afterward even if it is already configured.